

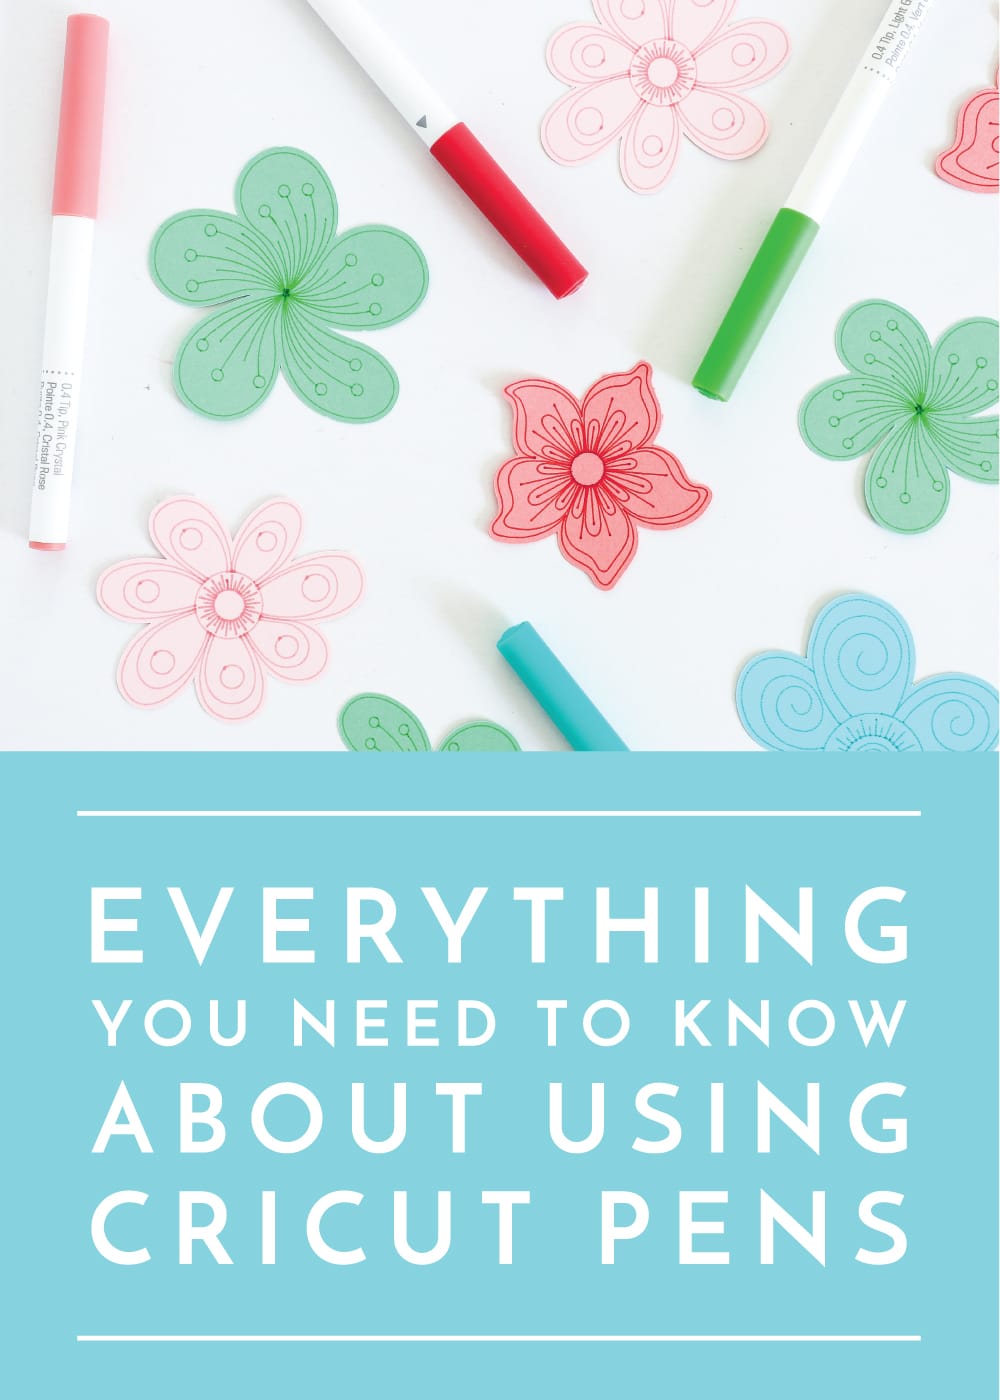
how to use pen on cricut
posted by Megan on May 28, 2019 This post may contain affiliate links.
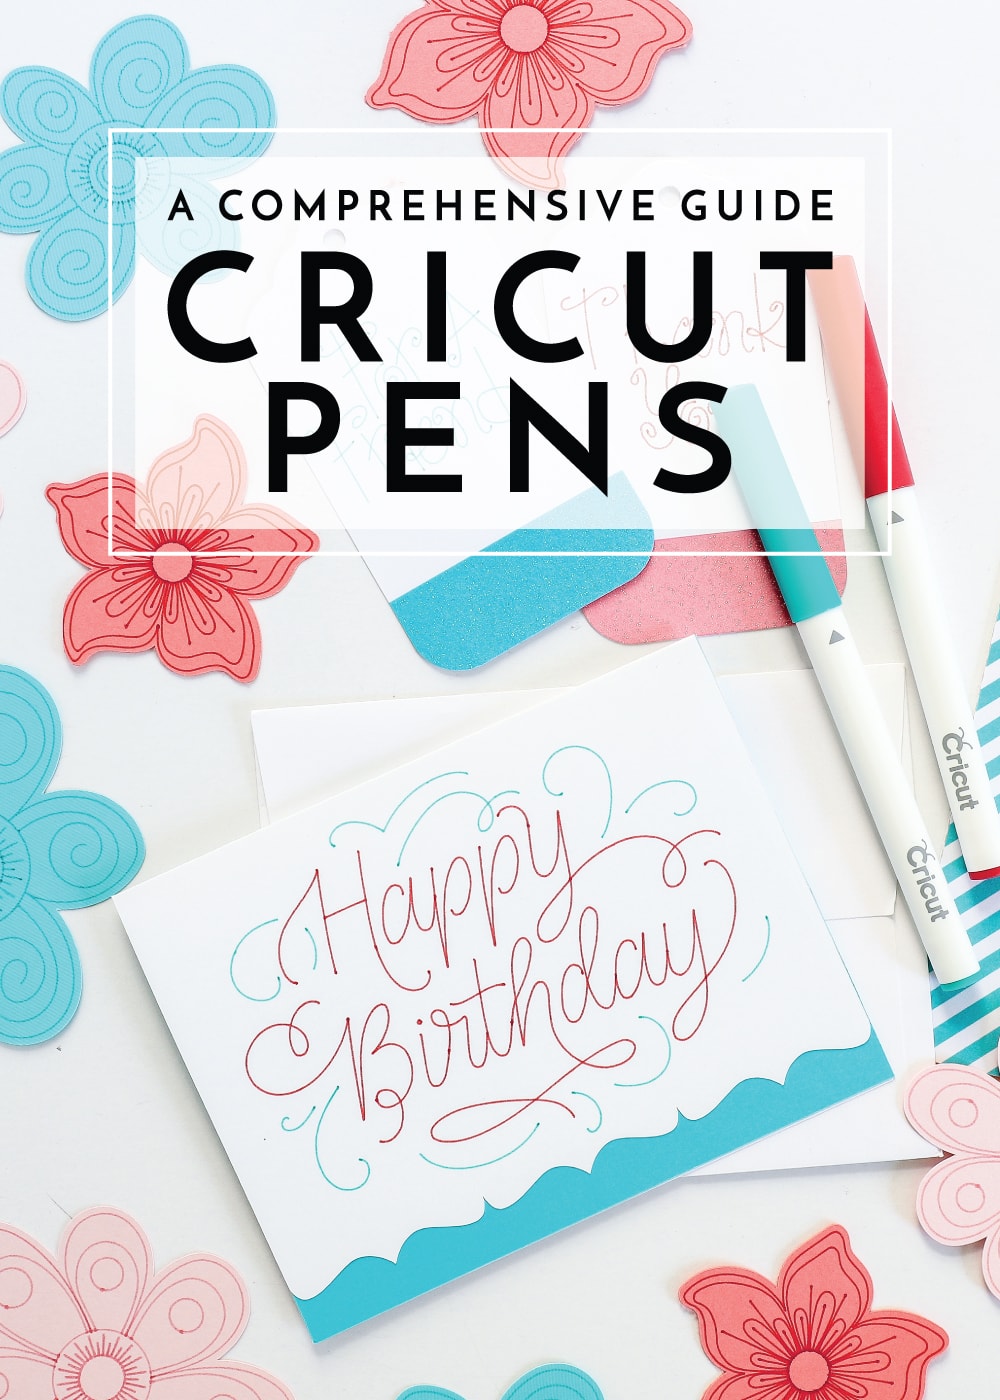
There is no doubt that the Cricut machines (either the Explore line or the Maker) are powerful creative tools. And while most of us associate Cricut with cutting out shapes from paper, vinyl and so much more, the machines can also be used for drawing and writing via the Cricut Pens. Using the Cricut Pens is pretty easy and fairly straightforward, but there are some specific things you need to do in order for your projects to turn out just right. So today, I want to teach you how to use Cricut Pens and break down everything you need to know in order for you to confidently create with them!
When To Use Cricut Pens
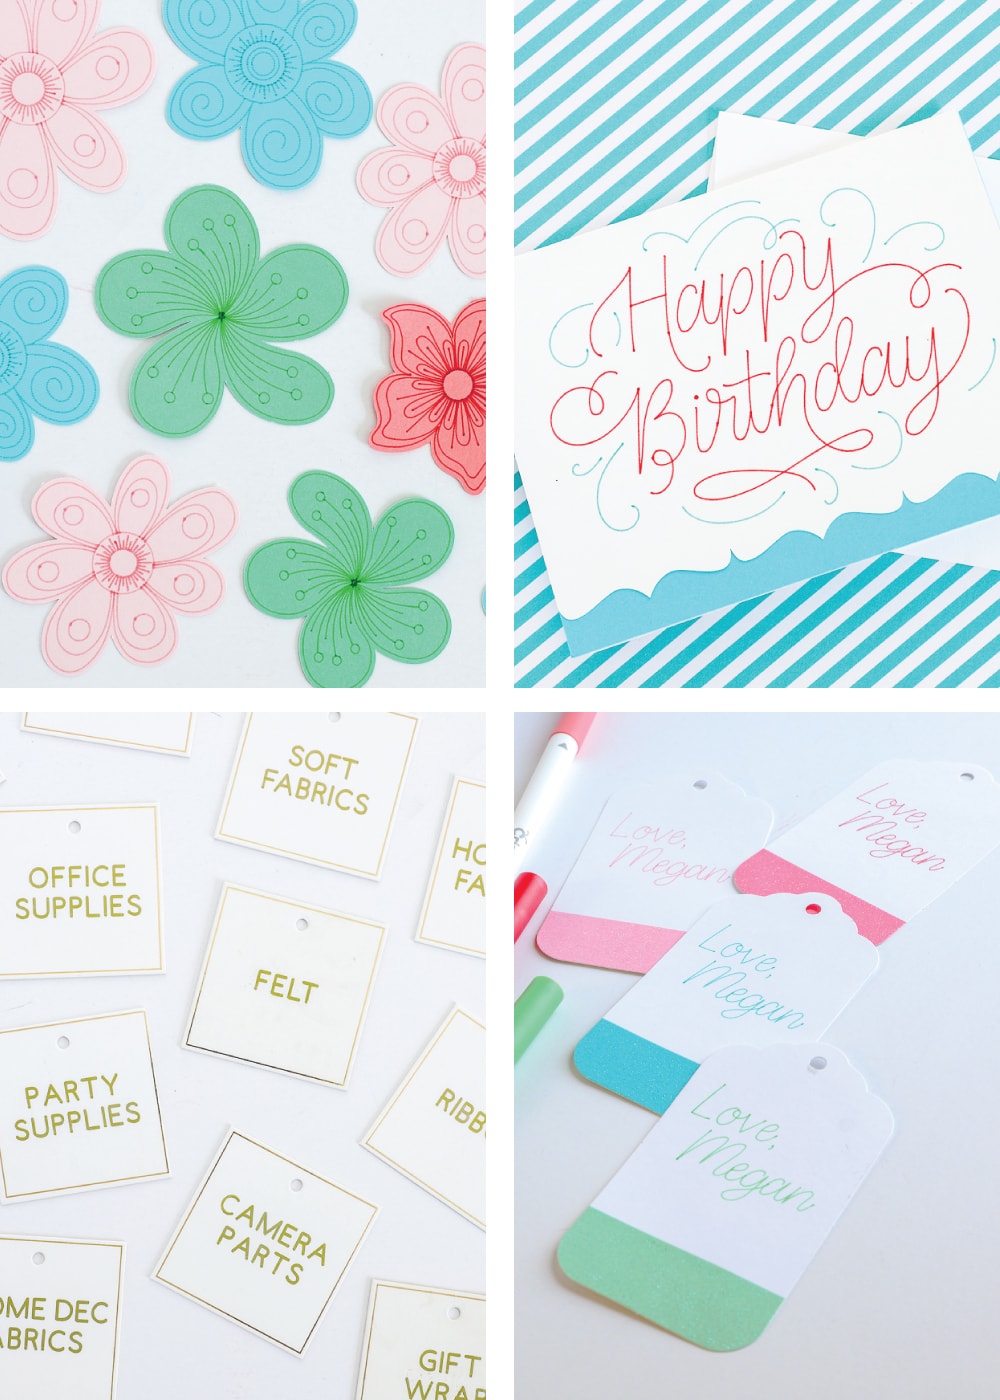
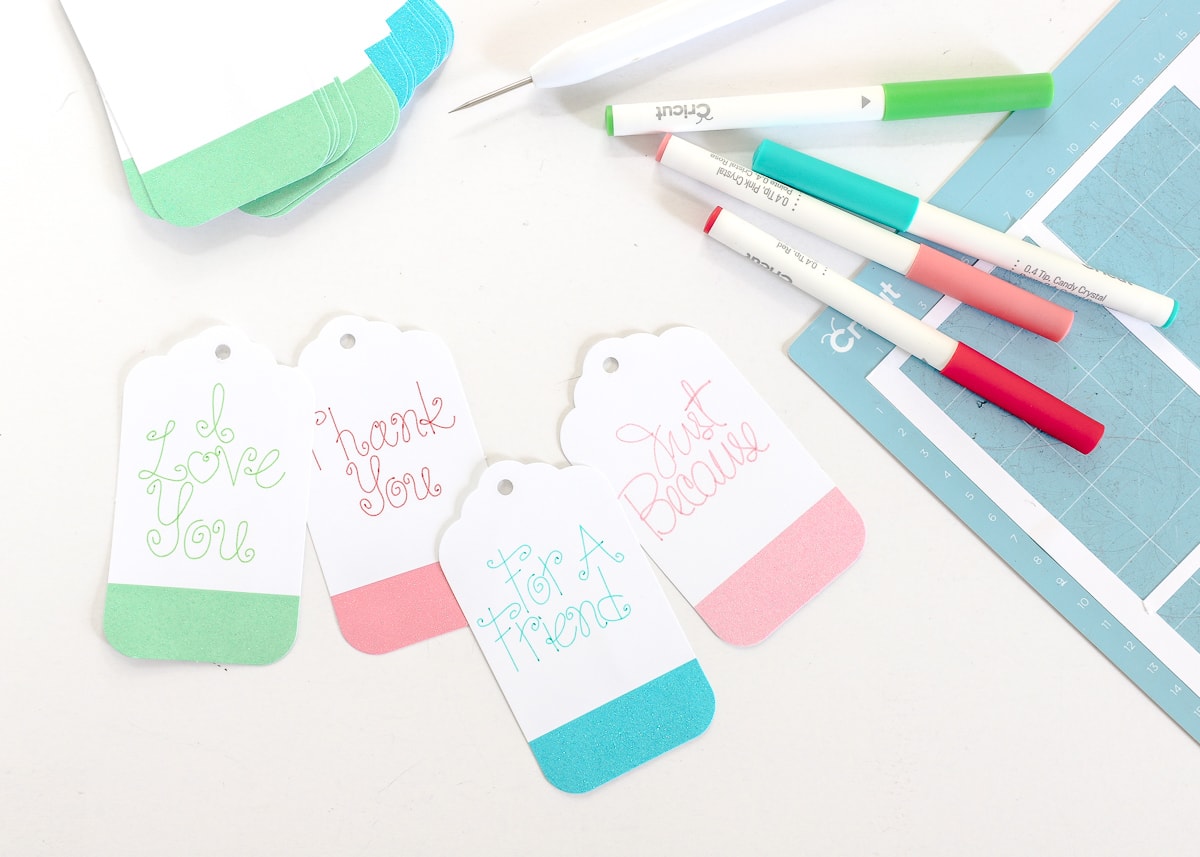
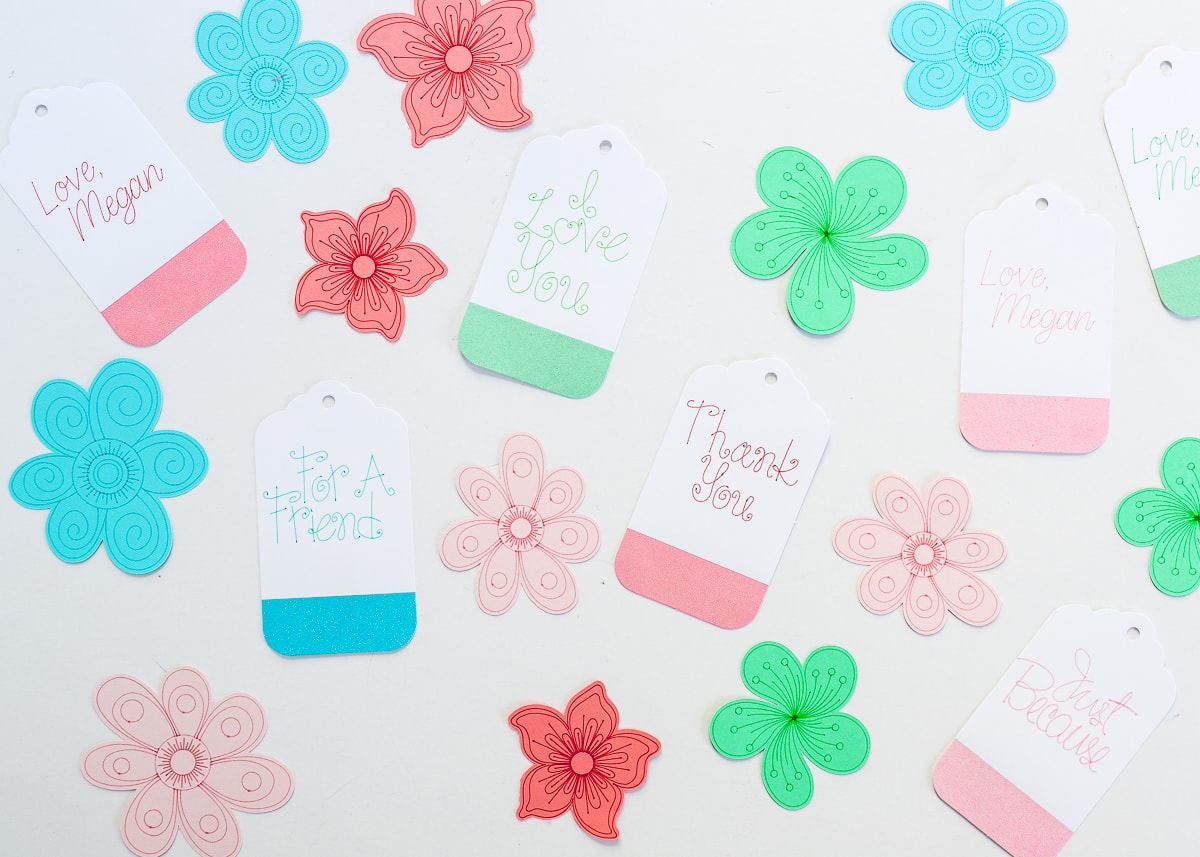
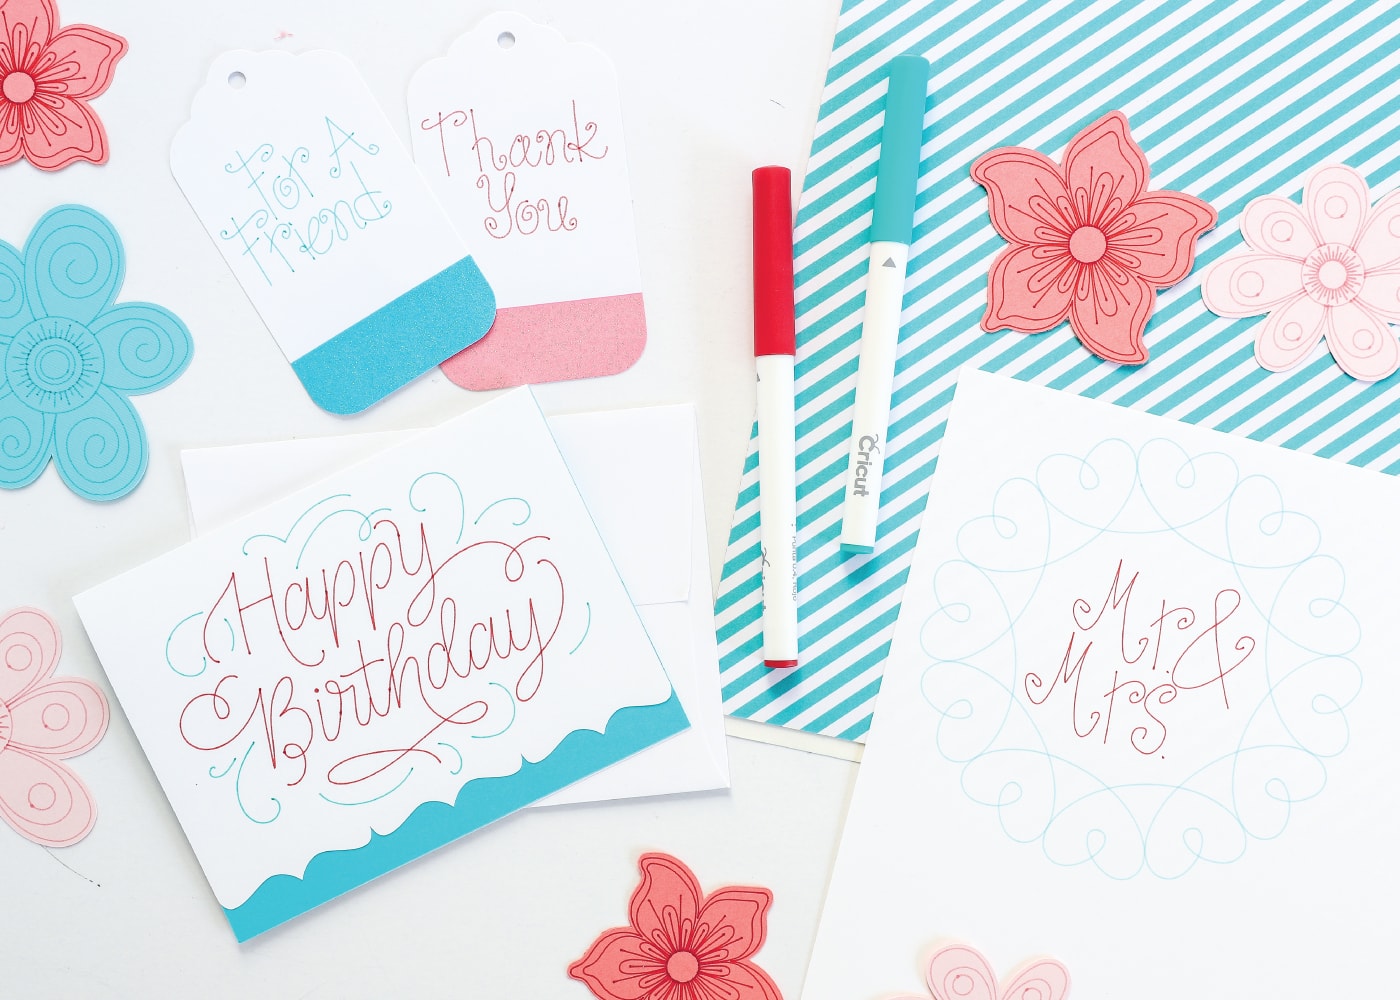
Depending on what kind of crafts you do, you may not have ventured much into using the Cricut Pens. Admittedly, I didn't use them for a very, very long time. But over the years, they've absolutely become my preferred way to add details to craft projects, names to gift tags, and words to pre-cut labels for lots of different items around our home! With tons of pen options and "Draw" designs now available in the Design Space Library, I think you too will find the Cricut Pens to be a fun and powerful way to put your Cricut machine to use!
Cricut Pen Basics
The trickier aspects of working with the Cricut Pens are actually on the software side, so let's get the easier stuff out of the way first. Specifically, what the pens are and where they go.
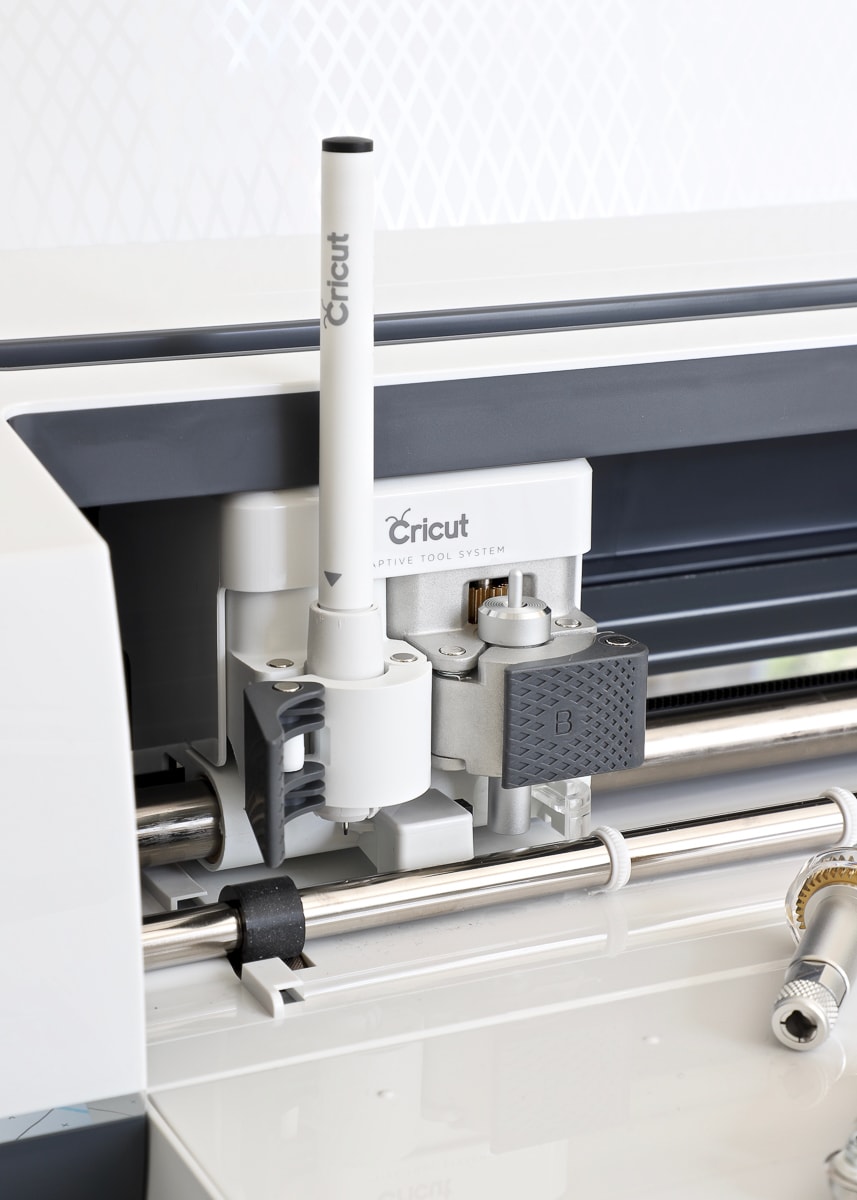
Whether you have an Explore (any version) or a Maker, you will notice there are two clamps on the cutting mechanism, the A side and the B side. The B side will always hold your blades, and the A side holds other accessories such as the Cricut Pens and scoring stylus. When you create a project that requires a pen, the Design Space software will prompt you to put a pen into the A slot. When you put the pen in, don't be afraid to push it down with some gentle pressure until it clicks into place and the arrow on the pen itself hovers just above the clamp. Be sure to close the clamp (the grey piece with the letter A on it) to firmly hold your pen in place while the machine works.
NOTE! Below, my A Clamp is actually open. You will want to close it before allowing your machine to begin writing.
Cricut Pen Weights and Colors
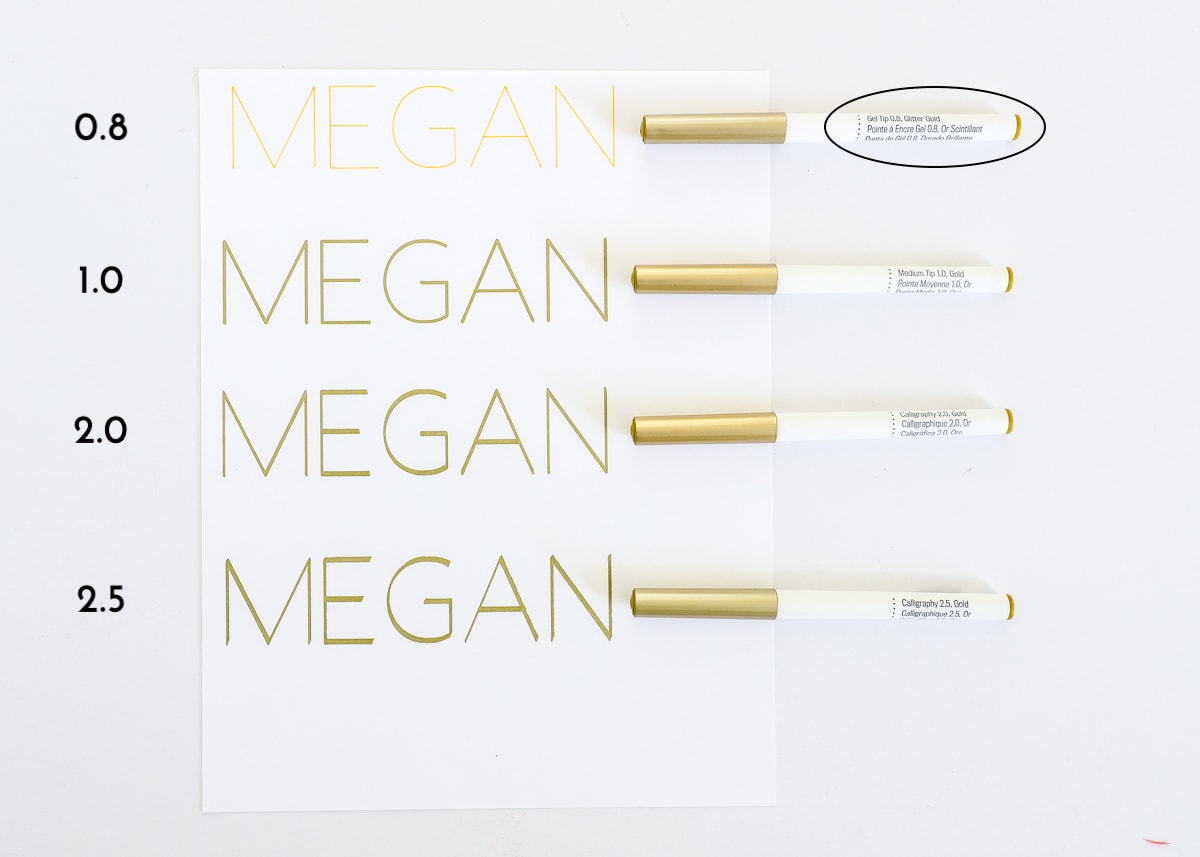
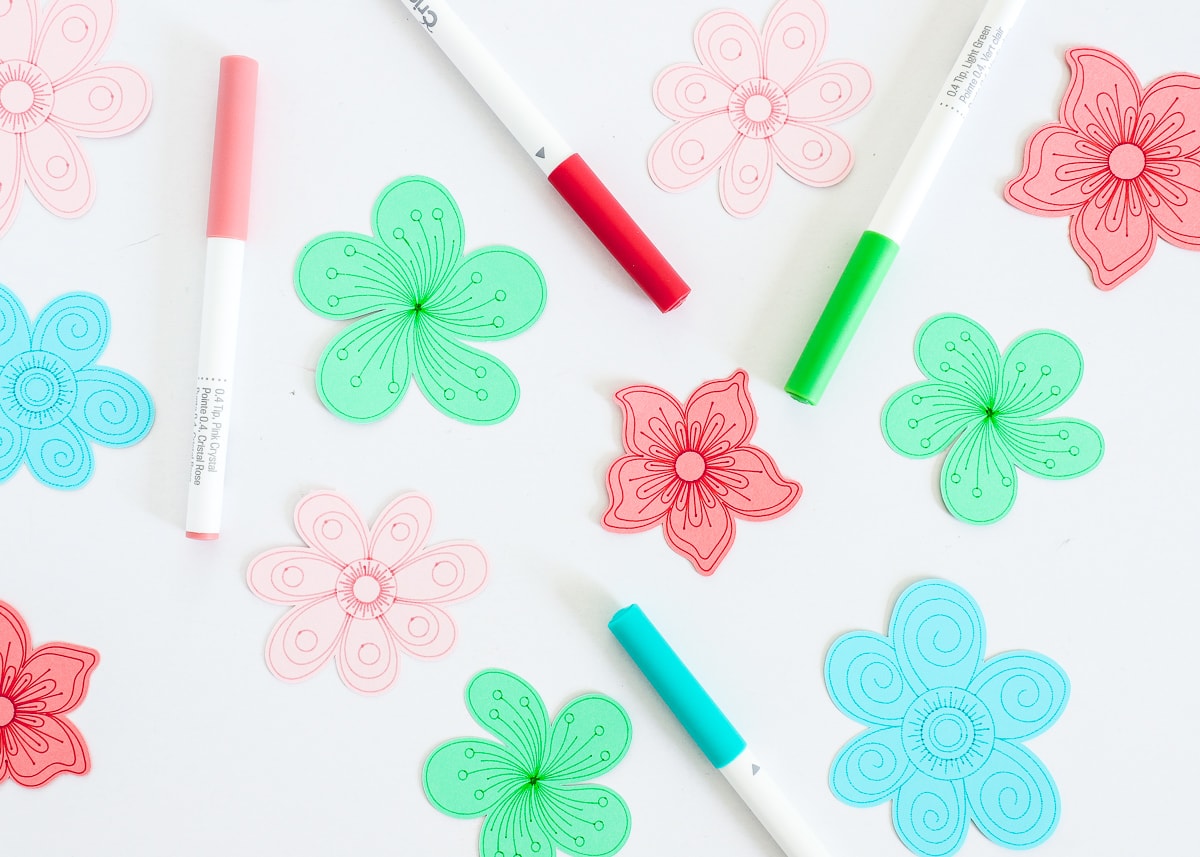
In recent years, Cricut has really expanded the type, colors, and weight of Cricut Pens offered so that you have a ton of control on how the lines on your project appear. Pen weights range from Extra Fine Tip (0.3) to Calligraphy (2.5), with several steps in between. The pen's weight, as well as the color, are printed right onto the side of the pen for easy reference. The pen's color is also represented on the cap and end of the pen. Fine Point pens now come in as many as 30+ colors, 0.8-weight gel pens come in a large variety of 5-pack sets, and calligraphy pens are available mostly in black and gold (shown). Any pen can theoretically work on any project, however smaller projects (small words, fine details) will likely look better with 0.3-0.8-weight pens, while larger, less-detailed designs can be done in the higher weight pens.
TIP! When I'm not sure which weight will look best for my project, I will often test a small part of the design in the various pens to see which one looks best before drawing out my entire project.
Drawing With Cricut Pens In Design Space
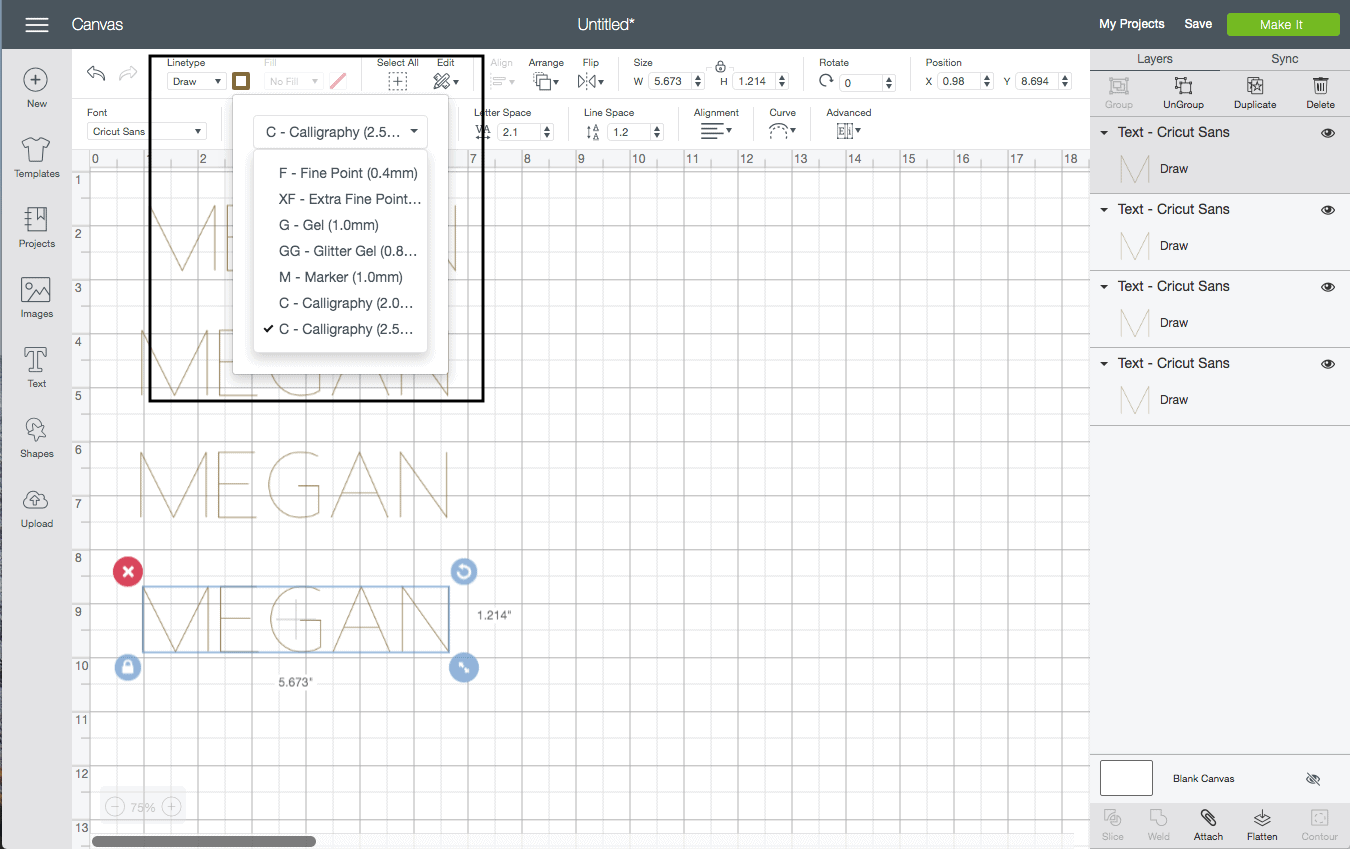
I'm going to dive deep into the software component of drawing here in a minute, but quickly let me show you where you can select which pen you want to use. With a drawn object selected, you will see a colored square next to Linetype along the top toolbar. If you click that colored square (the gold box in the image below), it will open a dropdown menu from which you can select your pen type.
Start by selecting which weight pen you will use…
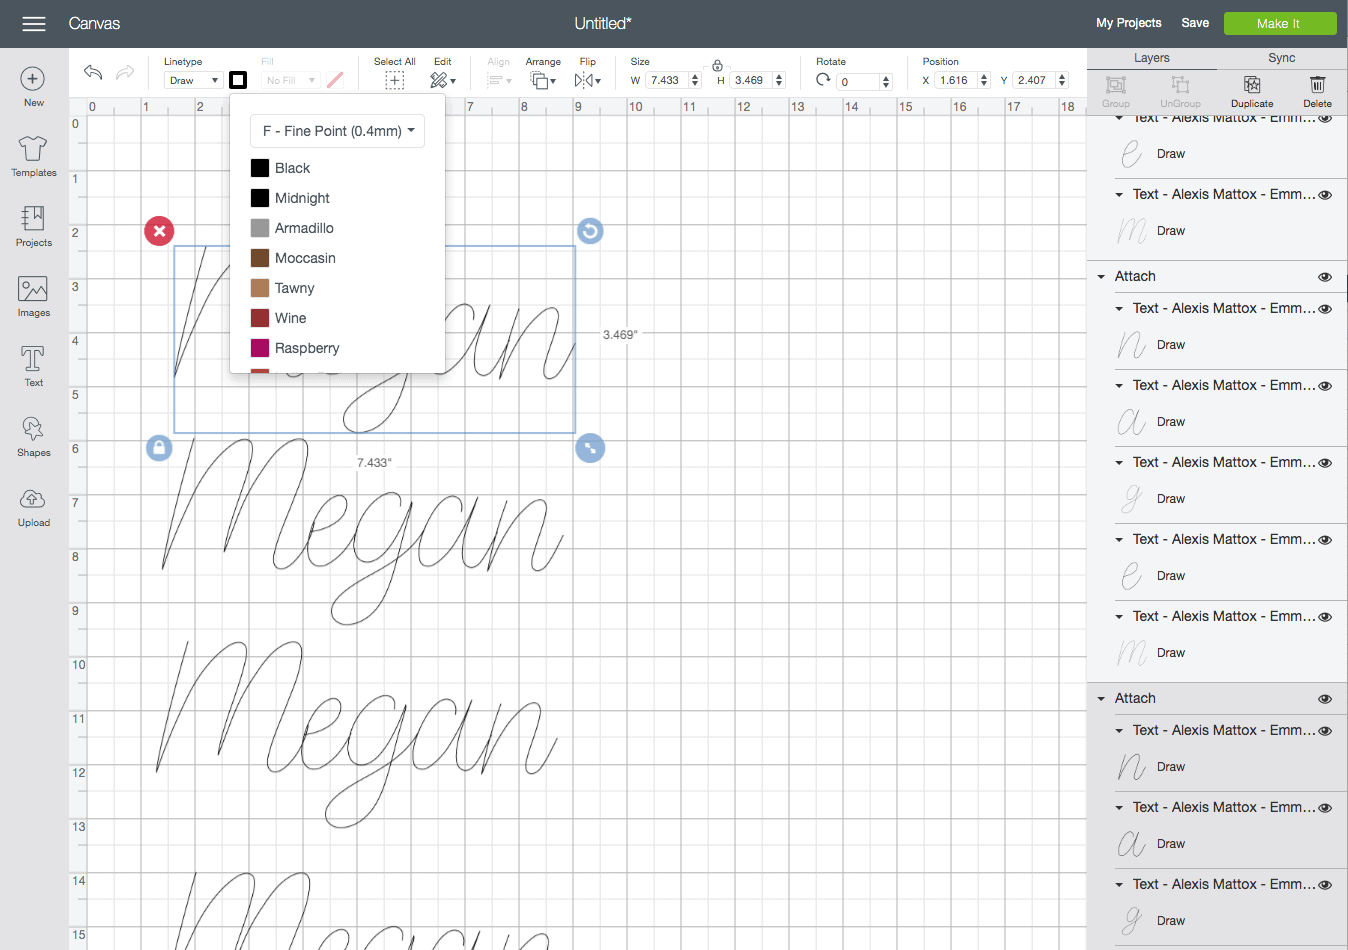
…and then you can set which color you want.
NOTE: The color options listed coordinate with the Cricut Pens currently available.
Although it is not 100% required to set your pen type in Design Space itself (the software can't control which pen you actually place in the clamp), I do recommend taking the time to do it, especially on projects that will utilize various pen colors or pen weights. Here is why…
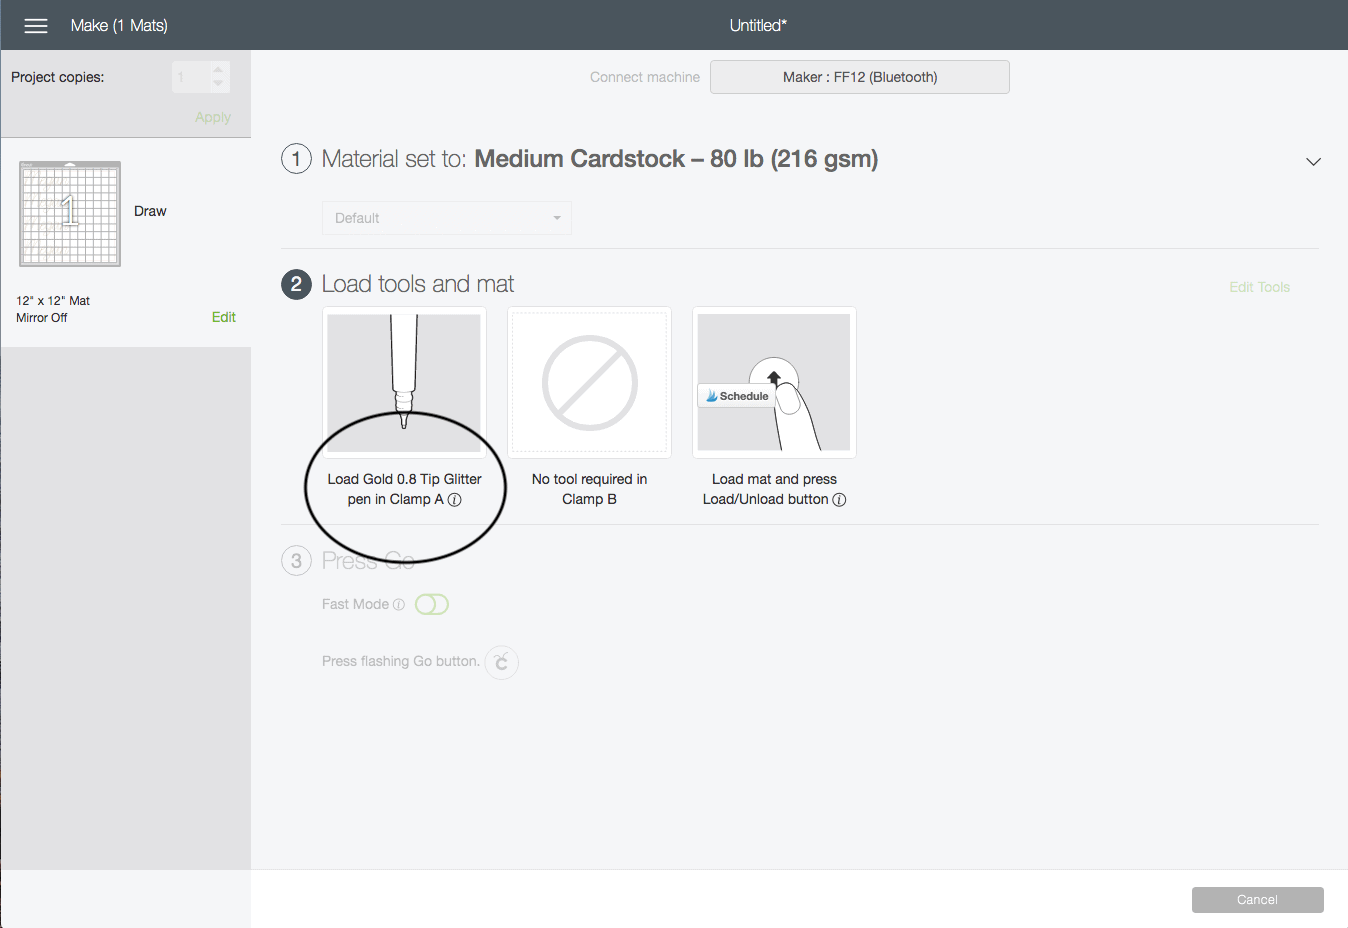
The final cut screen is filled with all sorts of helpful information to complete your projects. Notice how it tells you exactly which pen to place into Clamp A! If you designated which pen to use on the Design Canvas itself, you just need to do what it says!
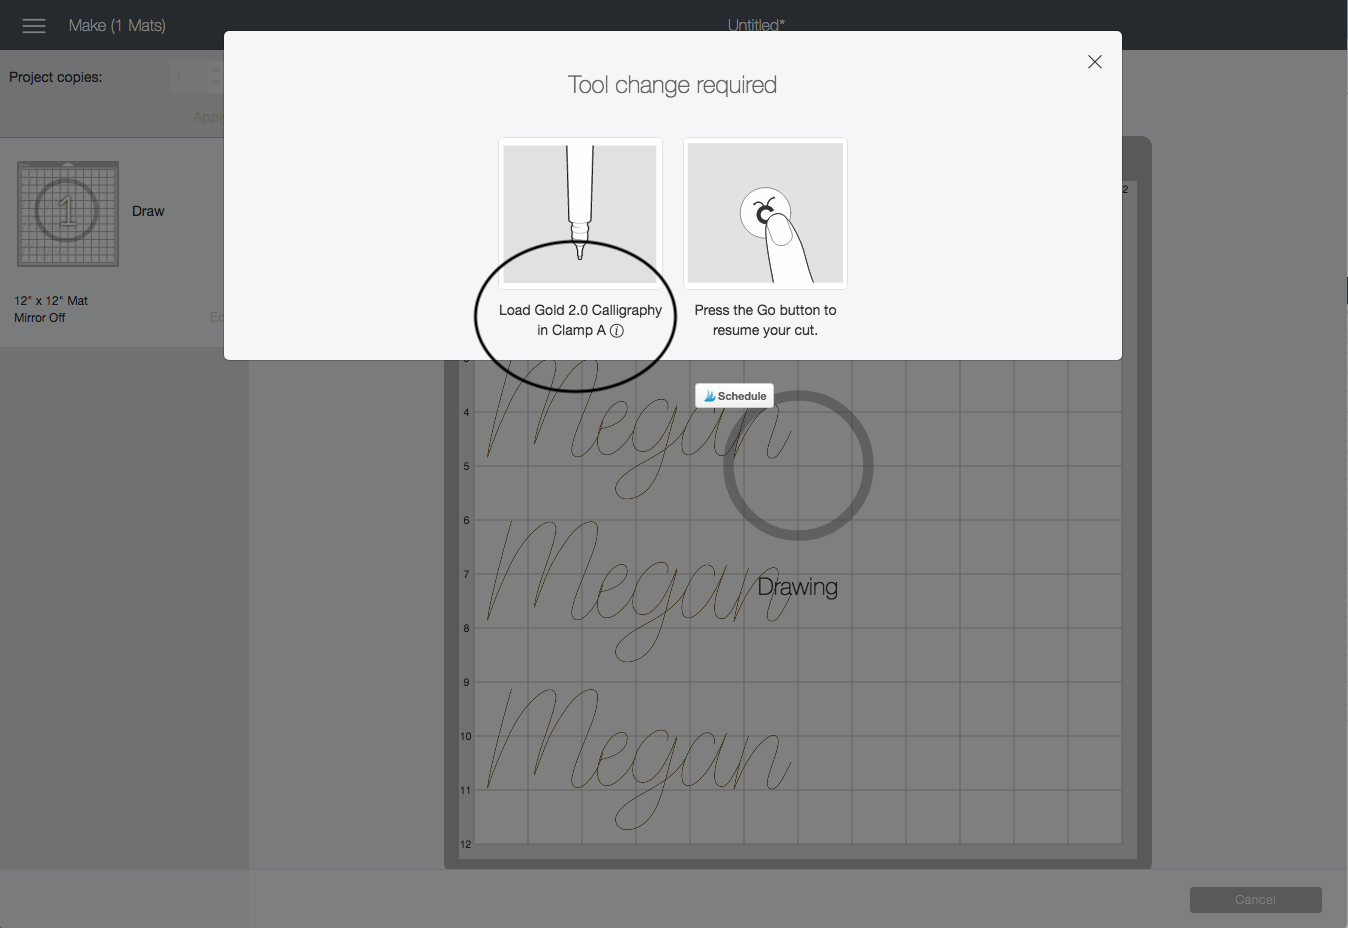
In the event you created a project that uses multiple pen colors, weights, etc, Design Space will actually pause, mid-project, and tell you to change to the next pen you have designated (image below). It can be verydifficult to predict what the machine will draw next, so pre-designating colors on the Design Canvas and following the on-screen prompts is the only way to ensure your multi-color projects turn out just right!
TIP! I know that setting the specific pen weight/color for each of your drawn elements can get tedious, but I promise you it's worth establishing the habit so that you can rely on the auto-prompts as the machine gets to work!
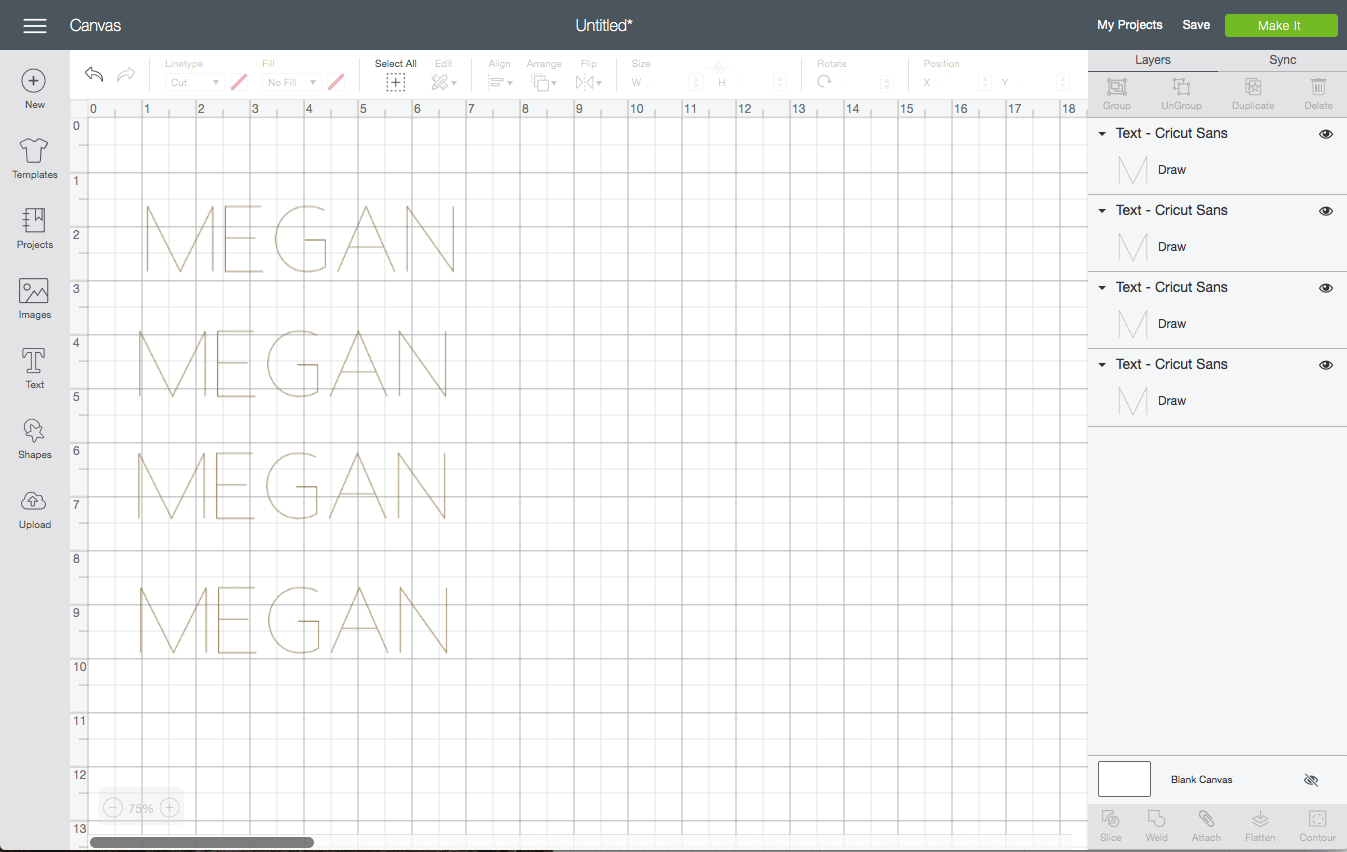
I do want to point out one important thing about setting colors/weights in Design Space. While the color of your drawn elements will change based on what you select, the weights will not appear any different on your Design Canvas. In the graphic below, I have each "Megan" set to a different weight (0.8, 1.0, 2.0, and 2.5), but they all look exactly the same. Nonetheless, the software will prompt you to put the correct pen in, based on your settings, when the time comes!
Drawing Text with the Cricut Pens
There are two main things you will likely "draw" with Cricut Pens: words and designs. Let's start with learning how to draw text/words!
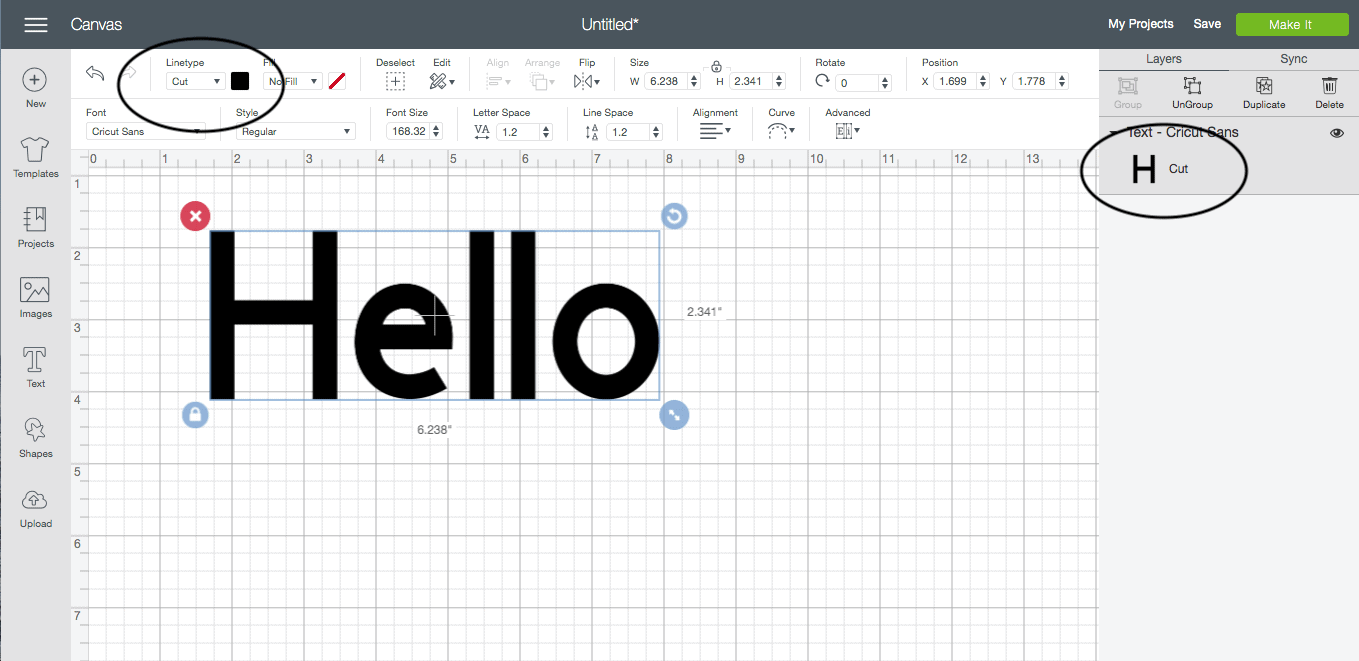
By default, when you place text onto your Design Canvas (via the text tool), it will be a "Cut" design, meaning the machine will cut out the words from a material. You can identify that it's a "Cut" object both along the top Linetype toolbar, as well as the designation in the right-side layers panel.
Cricut has recently changed the Linetype tool. Via the dropdown menu on the top toolbar, you can now change how the outline of ANY object/text is created: Cut (with the blades), Draw (with the pens), or Score (with the scoring stylus or scoring wheel).
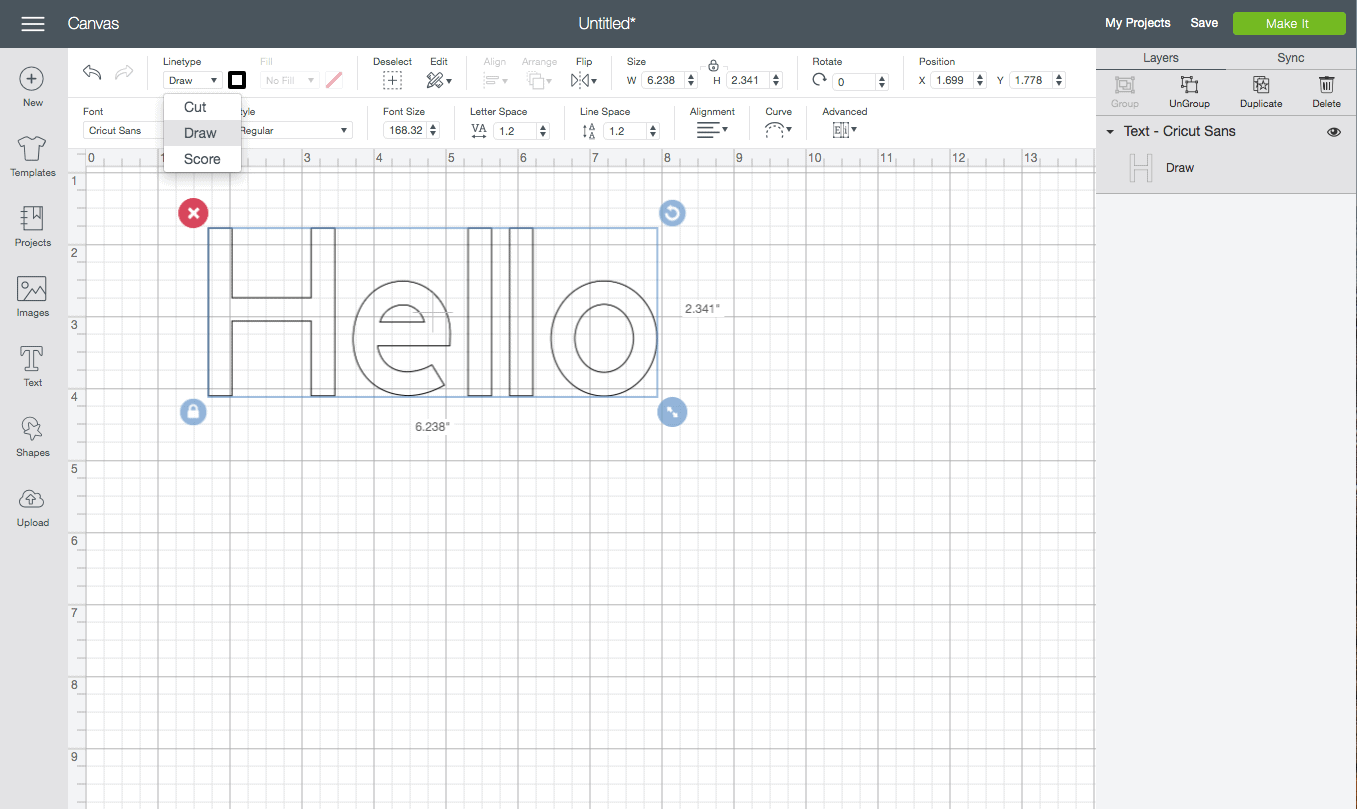
Once you have text on your canvas, your instinct is likely to just change the Linetype to "Draw" via the dropdown menu. However, when you do this, the outline (that was previously "Cut") will now be drawn. Notice how "Draw" is designated in both the top Linetype menu, as well as in the right-hand Layers Panel.
NOTE! ANYTHING that is designated as "Draw" will automatically be drawn with whatever pen is loaded into Clamp A on your machine.
The outlined letters may indeed be the look you're going for if you want to do a coloring page or have blocky writing. However, if you want your text to look written (not outlined), you need to change the text to "Writing" under the font menu. When you do this, it will transform that particular font into one that appears written, rather than outlined.
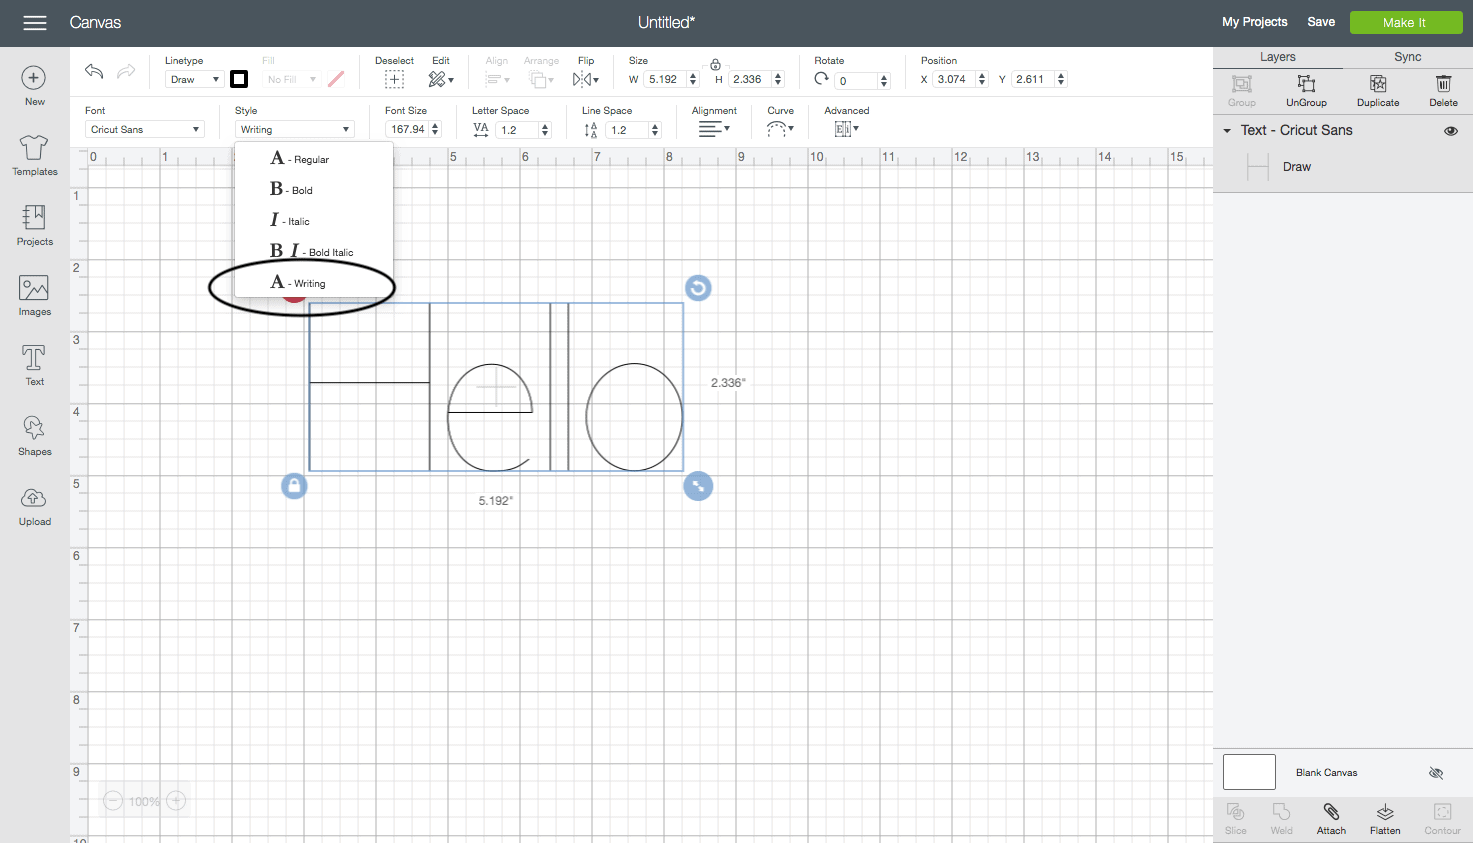
It's important to note here that not every font will have a "Writing" option. So…if you are working on a project that you absolutely want to have a hand-written appearance, you need to identify fonts that can be Drawn/Written with the Cricut Pens. The quickest and easiest way to do this is via the "Writing" filter within the Fonts menu.
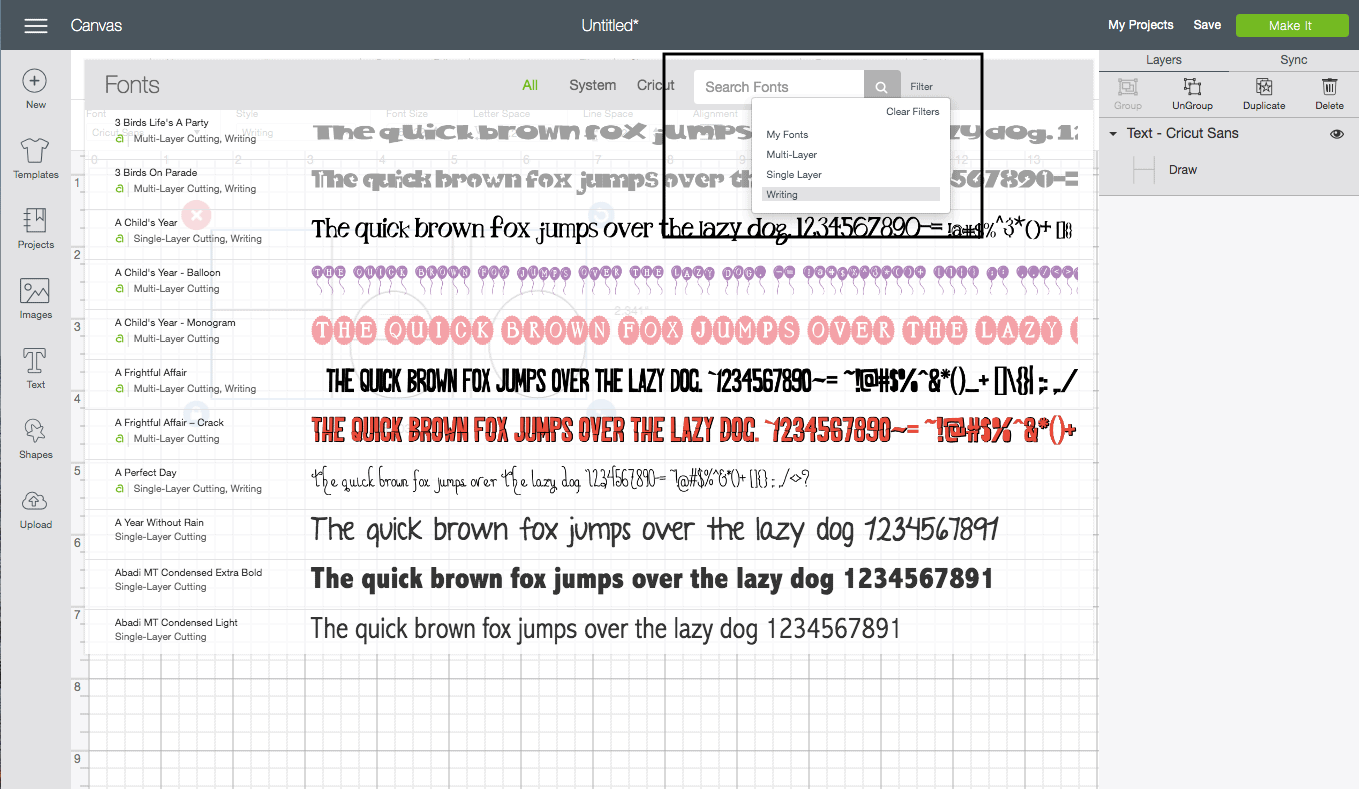
By filtering out only the "Writing" fonts, you can easily pick ones that will appear written, rather than outlined when drawn with the Cricut Pens!
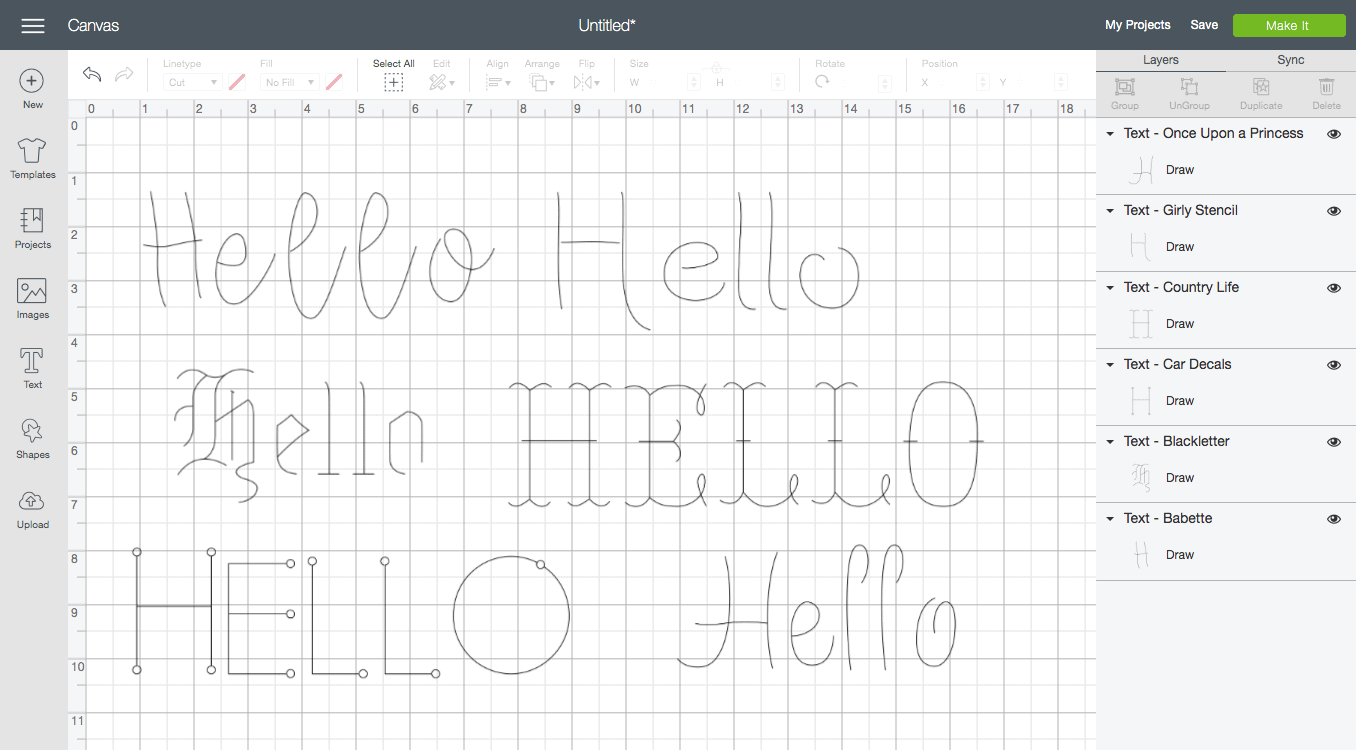
NOTE! Just like with script fonts that are "Cut," "Draw" script fonts will NOT automatically connect into one continuous word (look at the very first, upper-left "Hello" in the image above) To make your words appear as though they were drawn in a continuous stroke (like cursive), you will need to un-group the letters, move them closer together, and re-attach them (Weld will not work here). You can see more on how to do this here.
Drawing Designs with the Cricut Pens
I mentioned it before, but it's worth repeating: ANY design on your Design Canvas (other than Print-Then-Cut designs) can be created via "Draw" rather than "Cut." This is a great way to add dimension and details to your designs, and create your own coloring pages!
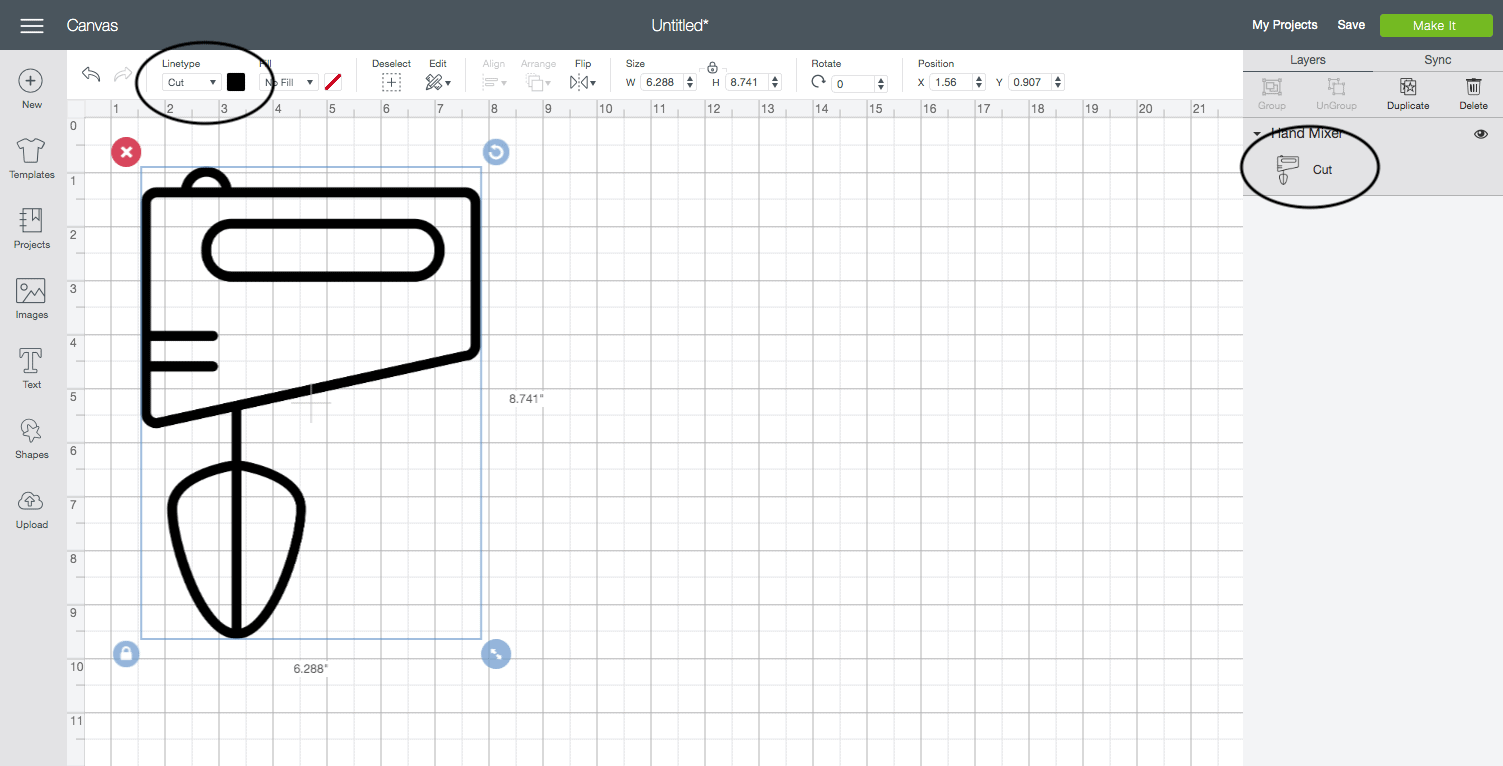
Just like with text, when you place most images onto your Design Canvas, they will be "Cut" designs…
Again, by using that Linetype tool along the top toolbar, you can change any outline from "Cut" to "Draw."
TIP! Changing artwork designs from "Cut" to "Draw" is one of the easiest ways to make coloring pages with your Cricut!
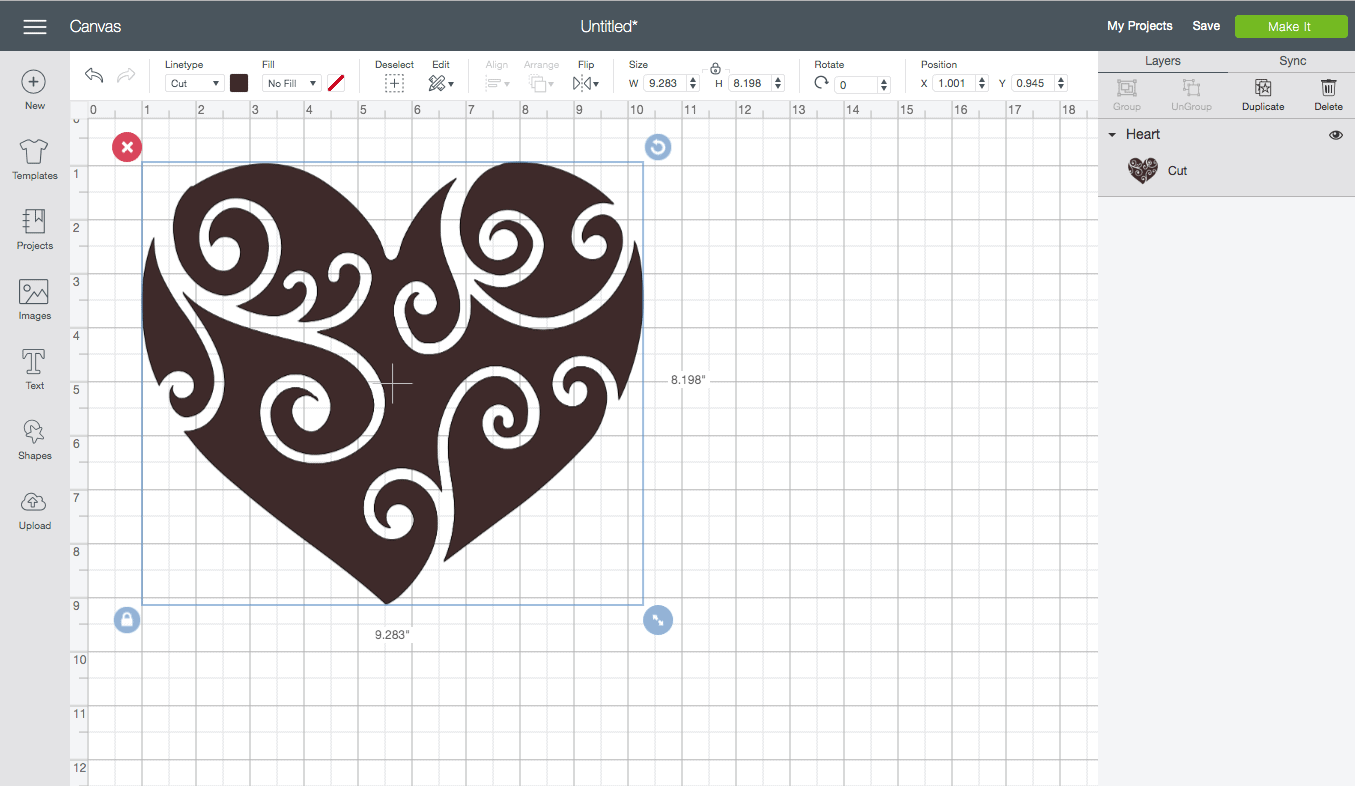
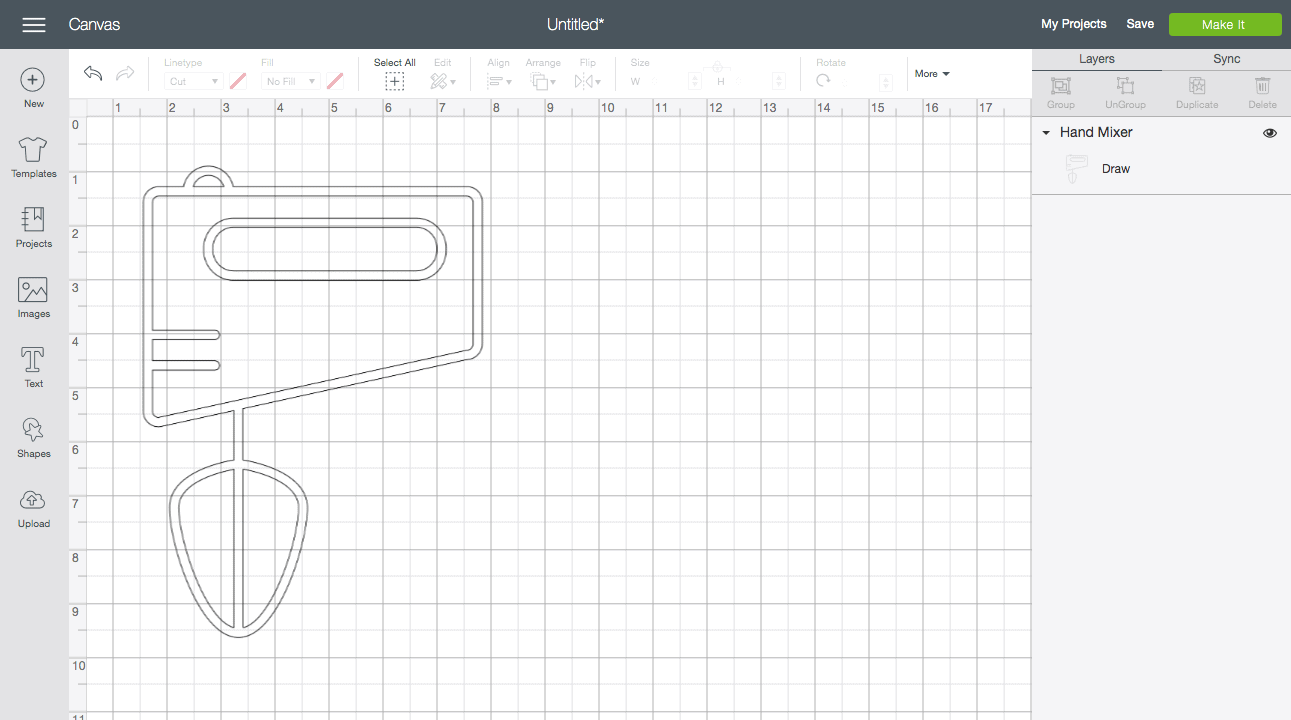
I want to point out an important feature when selecting images to "Draw" with your Cricut machine. Just like with the text, there are specific images that are intended to be drawn rather than cut, but it can be a little tricky to find them. For example, you will likely come across many images thatappear as though they have skinny lines that would be drawn…
But when you place these images onto your Design Canvas, you will quickly see that, despite the skinny lines, they are still "Cut" files…
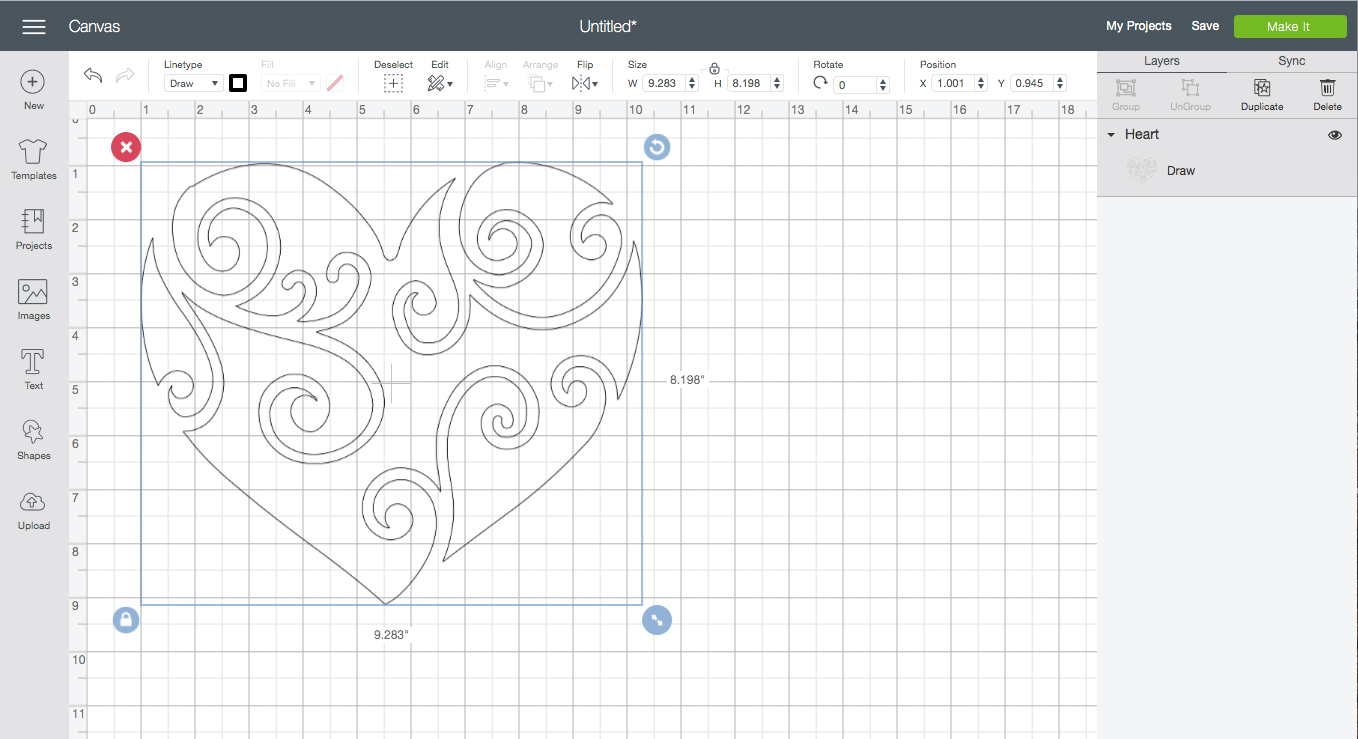
…and when you convert them to be "Draw" designs, you still end up with that outline rather than a drawn image.
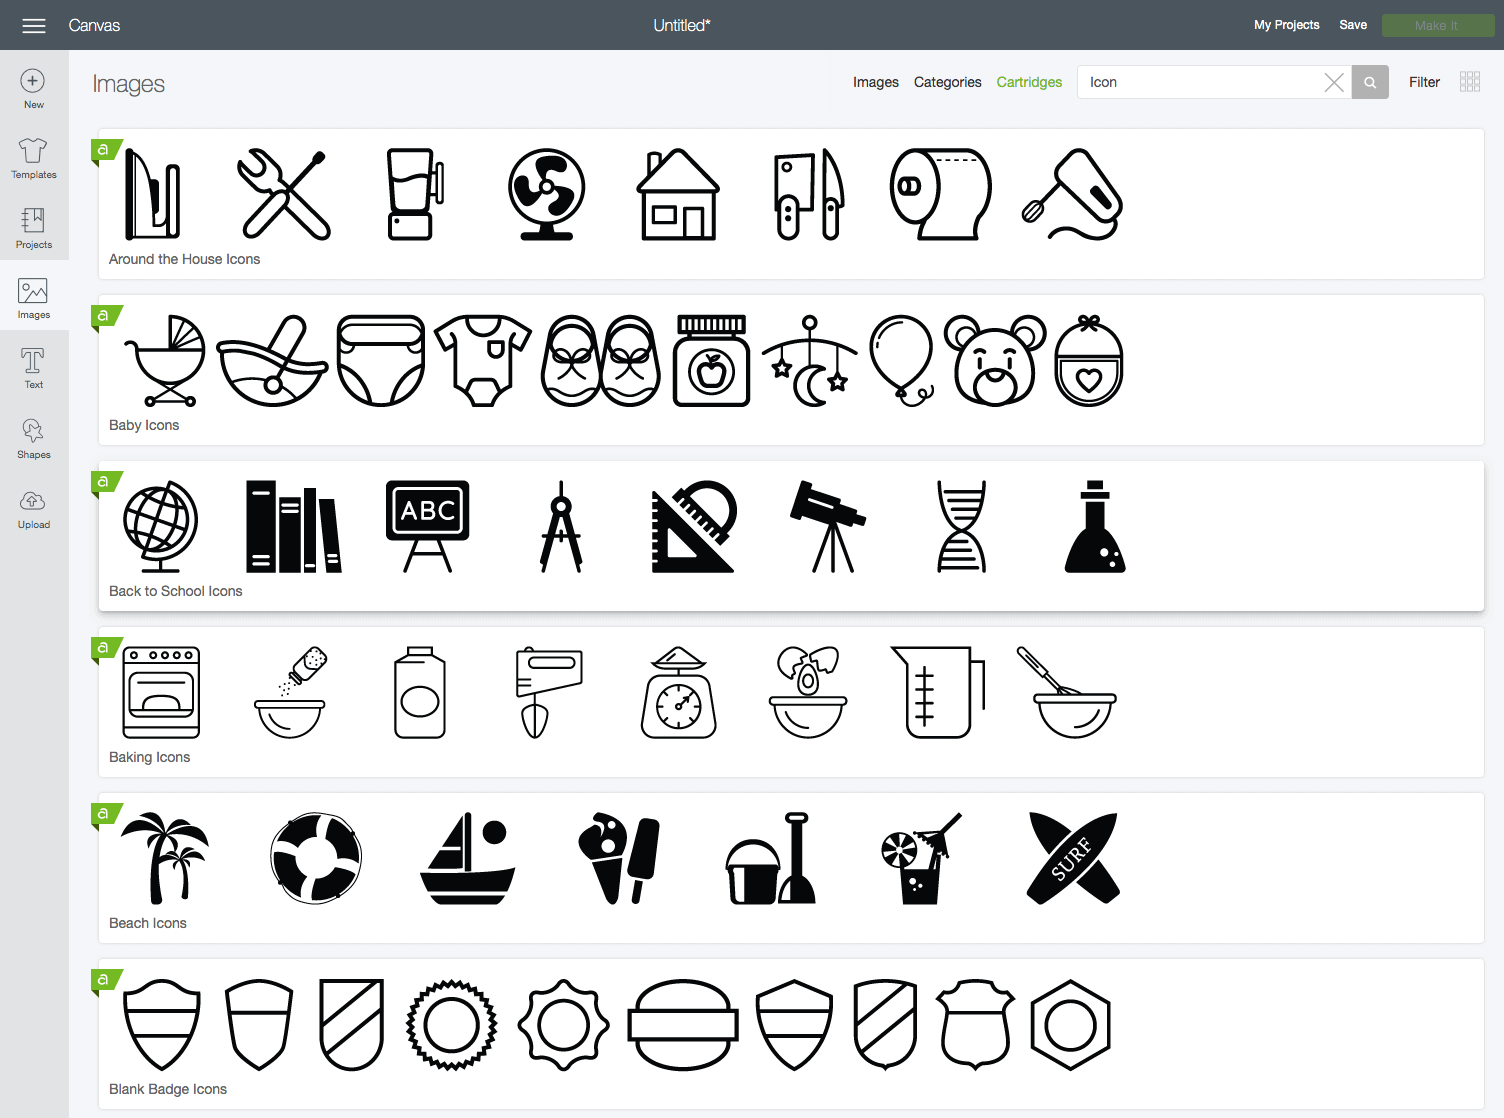
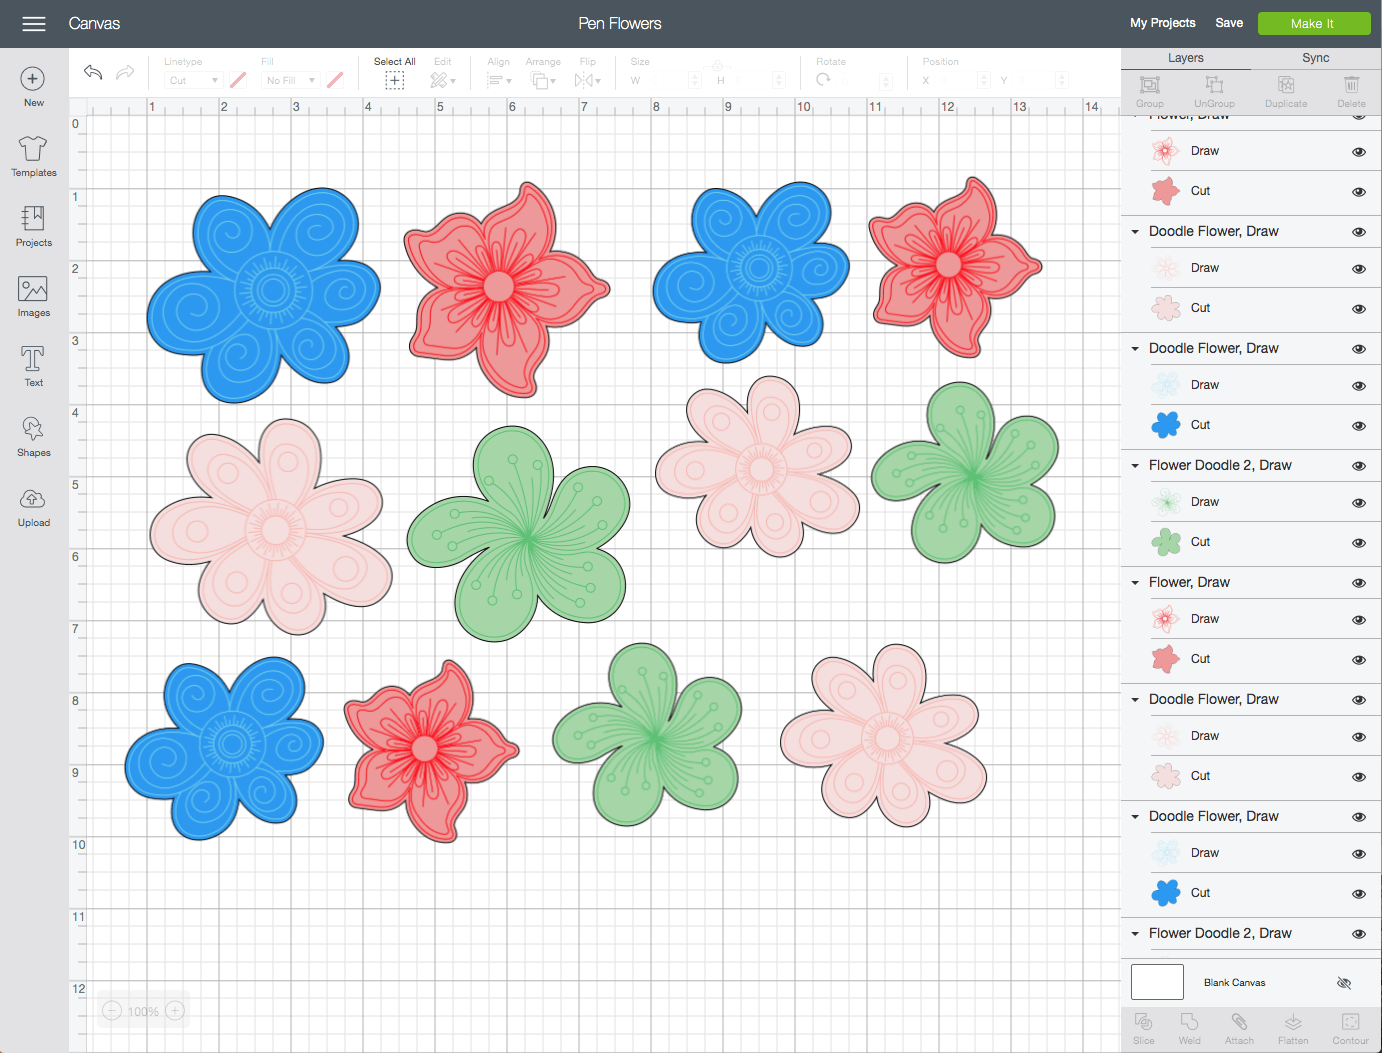
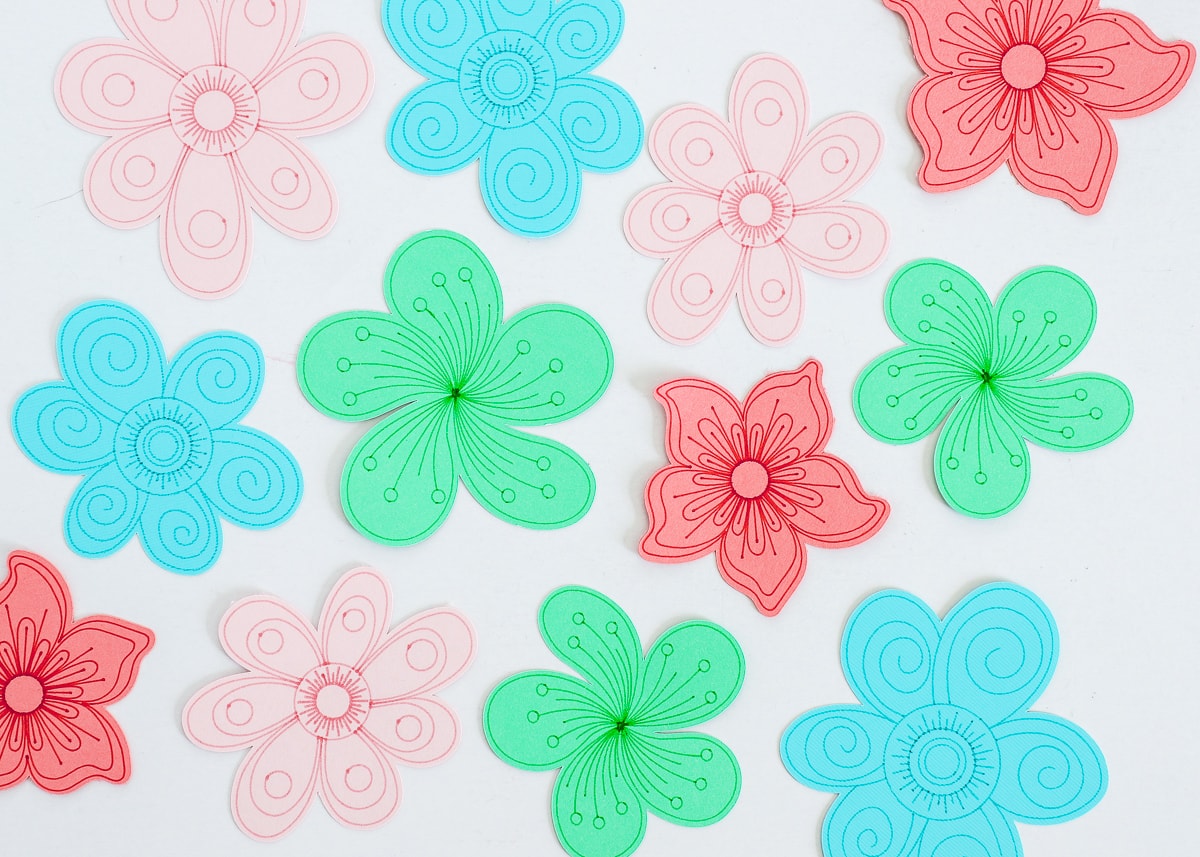
However, there ARE many designs in the Design Space Image Library that are indeed intended to be drawn with the Cricut Pens. The easiest way to identify these images is to type the word "Draw" into the Image search bar. This command will yield dozens and dozens of images that when placed on your Design Canvas…
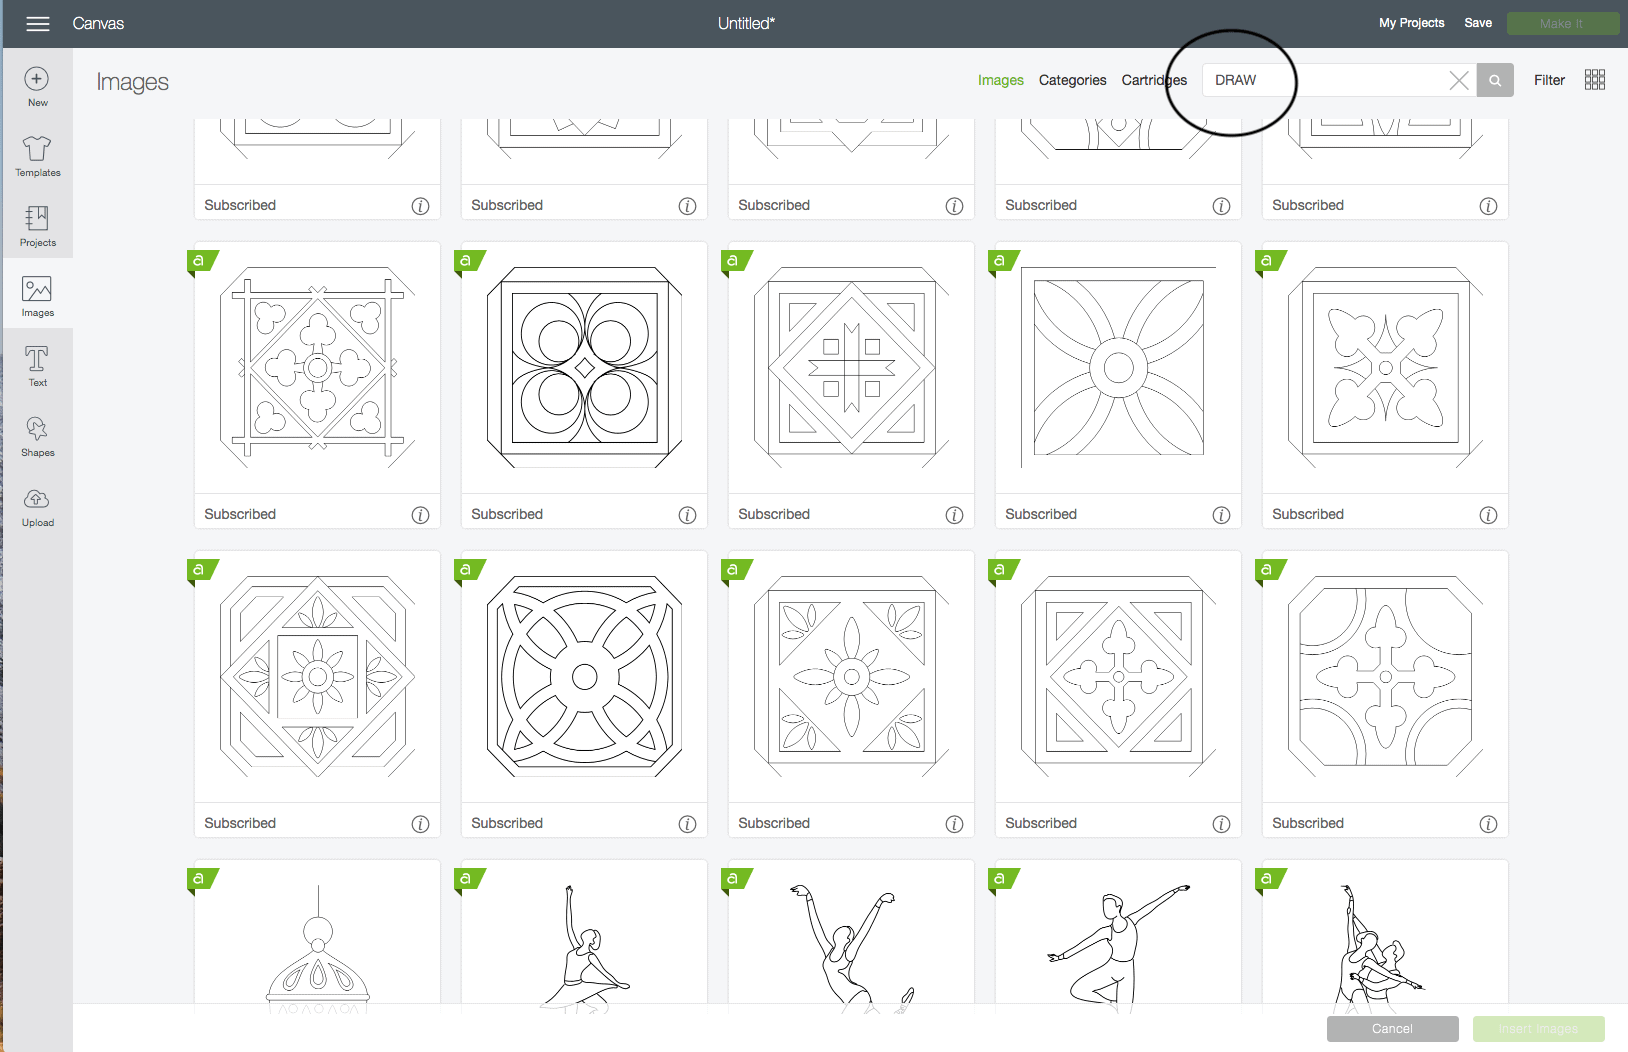
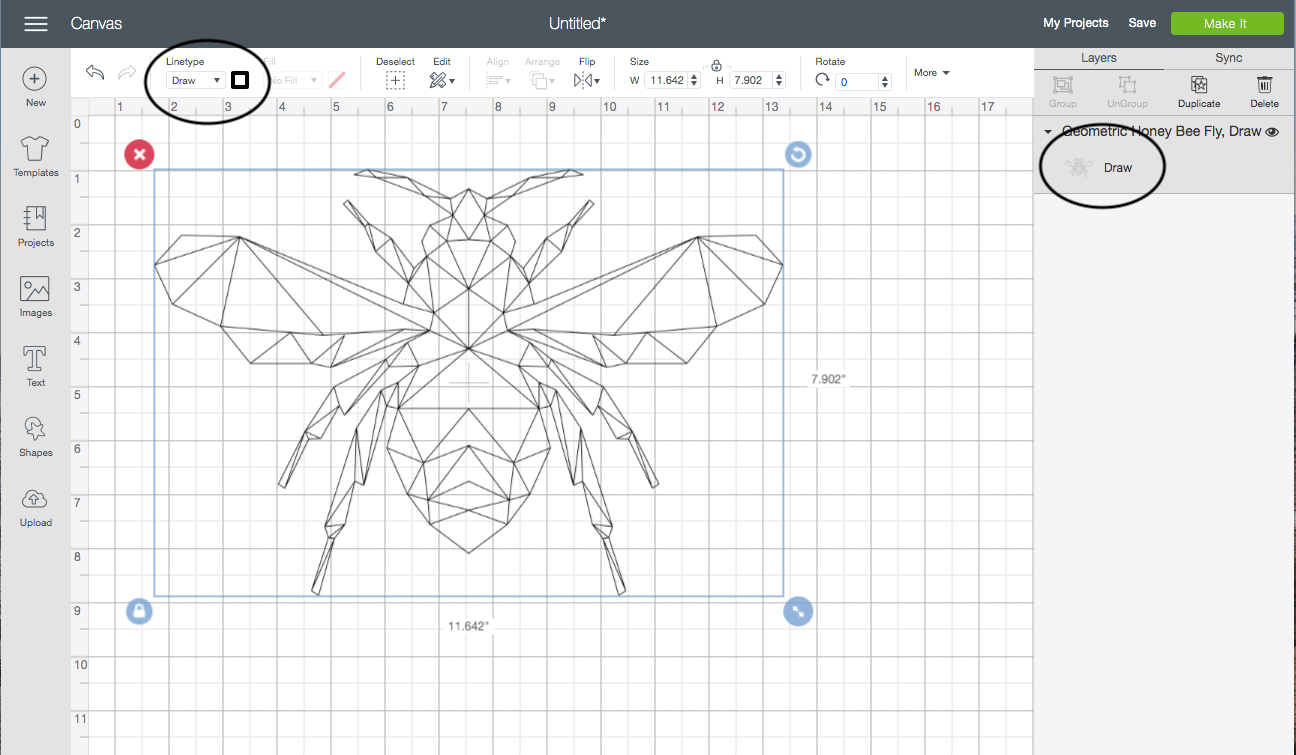
…populate immediately as "Draw" images because they were designed/intended to be drawn (rather than cut) via the Cricut Pens. If you are looking for great designs to "Draw" without a ton of manipulation or those awkward outlines, look for any design with the word "Draw" in the title!
Okay…so while those are the basics of working with the "Draw" function and the Cricut Pens, there are a few other things you need to know in order to get your projects to turn out just right.
The Importance of "Attach" When Working with Cricut Pens
When you are creating designs with the Cricut Pens, you are most likely trying to put your text or picture onto something, whether it's a tag, invitation or label you already have or a cut-out shape from the Cricut Design Space Library. I've received so many emails and comments from readers asking why their text isn't drawn directly onto their cuts, so let me briefly do a review of the importance of the "Attach" function (and you can learn even more here).
Here is a basic label I want to create. If you look along the right-hand Layers Panel, you'll see that the name "Megan" is supposed to be drawn, and the pink tag shape is intended to be cut. Obviously, I want "Megan" written directly onto the pink label.
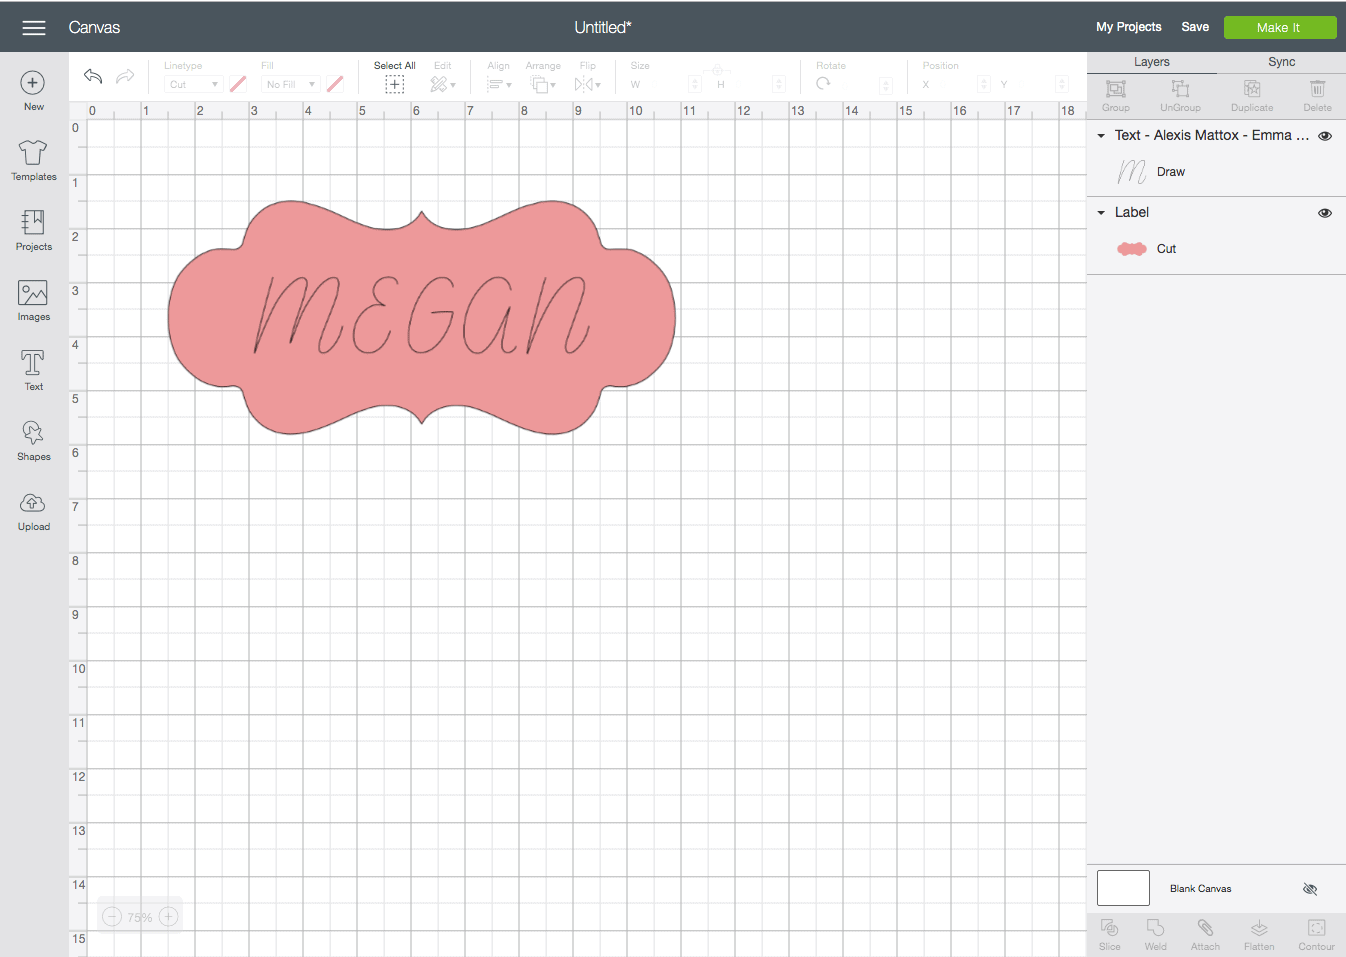
However, when I send this design to be cut, the "Megan" is being drawn onto a separate mat/color as the pink label.

In order to get your text to be drawn directly onto your cut shape, you must "Attach" the two items together. To do this, select both the shape and the text, and then click "Attach" along the bottom right toolbar. You will know your separate items are attached when 1) they are shown as an "Attached" set in the right-hand Layers Panel, and 2) when "Attach" toggles to "Detach" in the bottom right-hand toolbar.

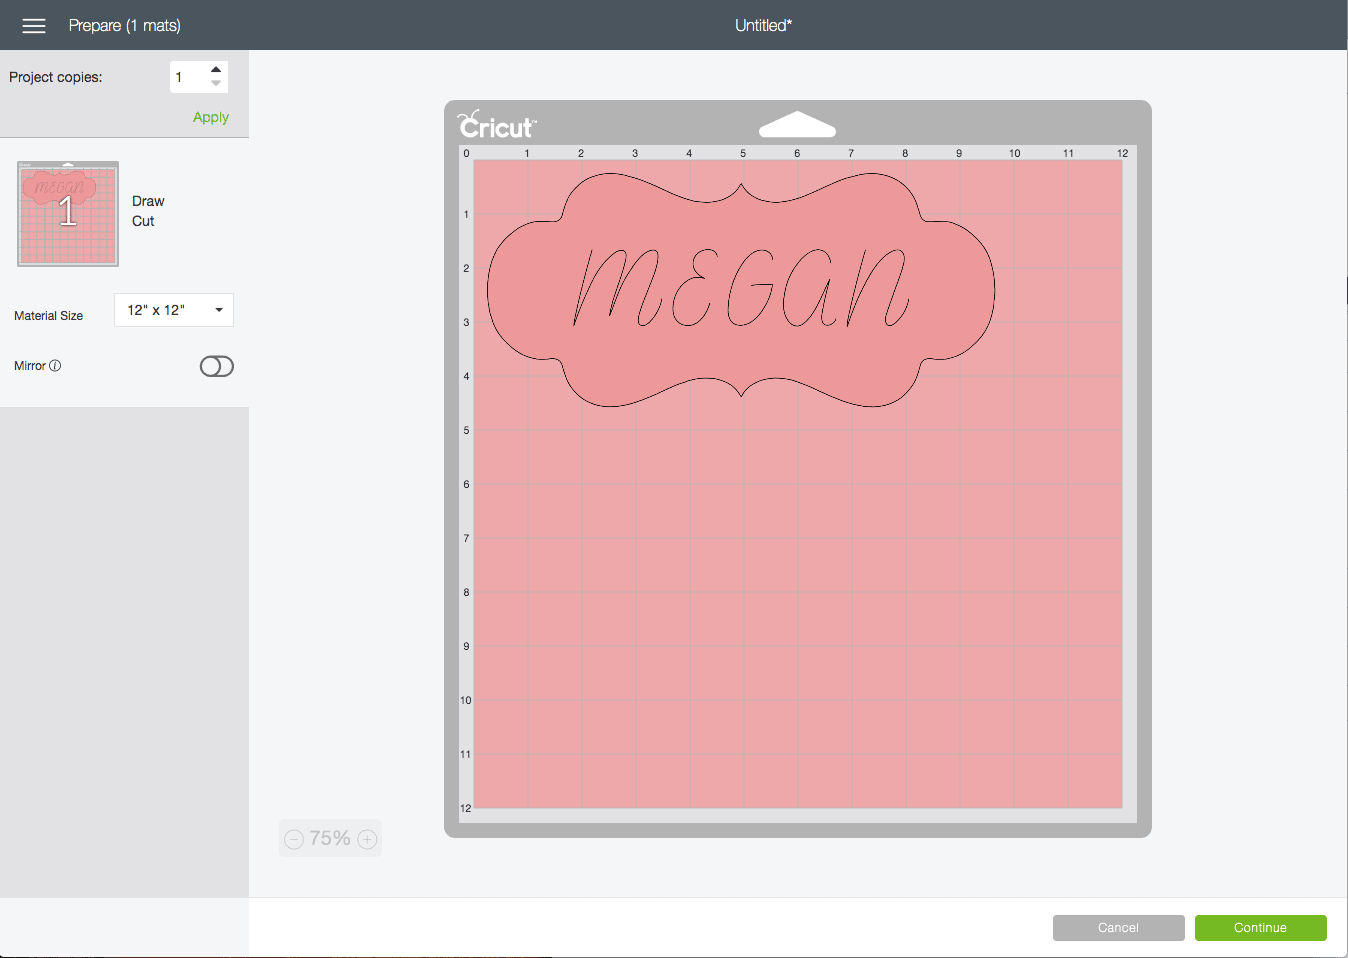
With the designs now "Attached," you will see that the text is written directly onto the cut label within the cut screen!
Attaching Various Pen Colors
When you "Attach" two "Cut" shapes together, Design Space will automatically make them the same color. However, this is NOT the case with pen colors. In fact, attaching various "Draw" designs is one of the best ways to create multi-color designs with your Cricut Pens.
In the below design, the heart wreath and the Mr&Mrs are two different designs straight from the Design Space Image Library. Not only did I make them different colors, but I centered the words in the middle of the heart. In order for my Cricut to draw this design exactly as I designed it, the two images need to be attached to each other.

You can attach any number of "Draw" images in any number of colors/weights, and the machine will prompt you to change pens when necessary so your multi-color designs come out just as you want them!
One more point on "Attach" before moving on. There are some images in the Design Space Image Library that feature both "Cut" and "Draw" elements. When you place these images onto your Design Canvas, each layer will be pre-designated for you. Although the two layers are not specifically shown as an "Attached" set, notice that "Detach" option is populated on the bottom right-hand toolbar (indicating that both the "Cut" shape and "Draw" lines are attached together.)
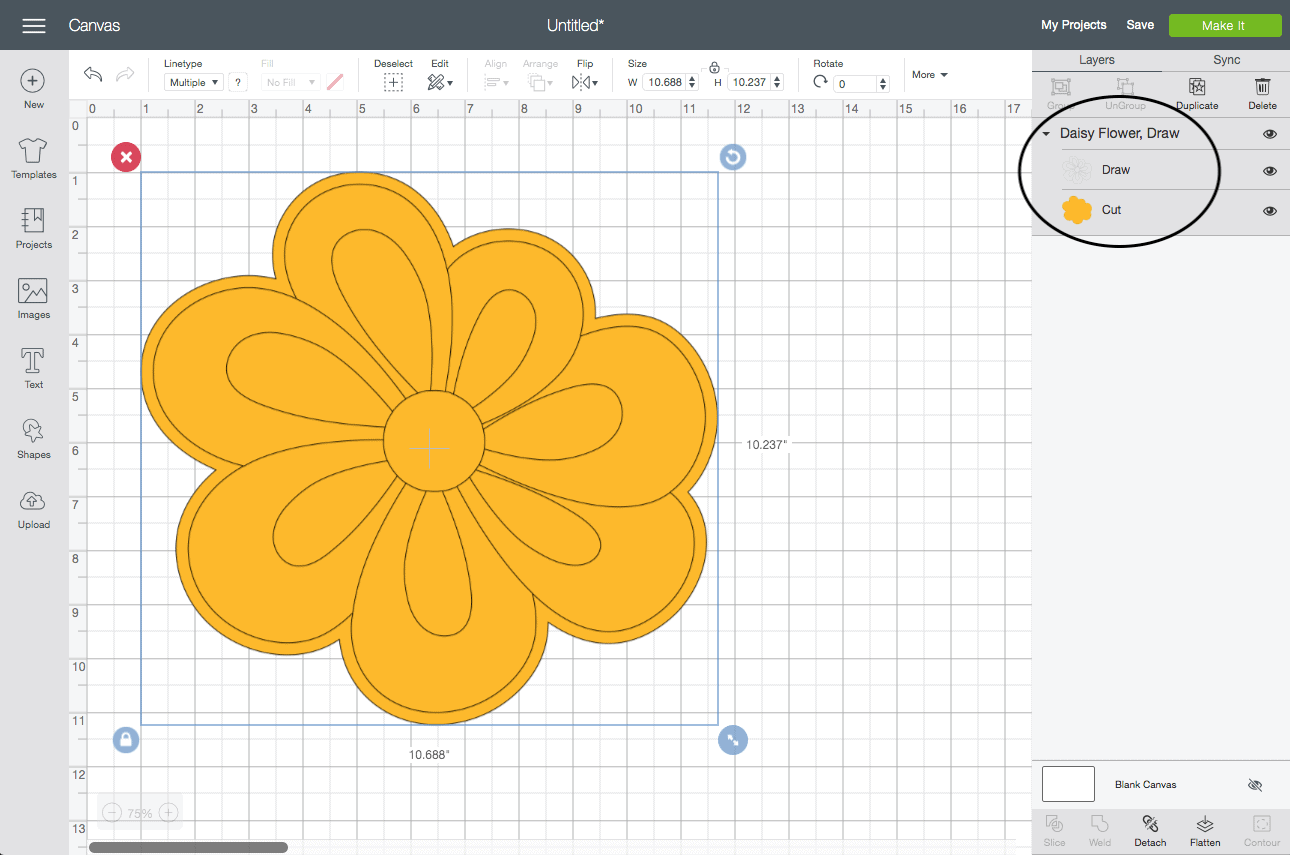
Although these designs populate pre-attached, you can still customize the colors of either the "Draw" layer or the "Cut" layer by selecting each element in the right-hand Layers Panel and changing them via the toolbars along the top of your canvas.
Using these 'Draw"+"Cut" designs are a fun way to create projects with lots of interesting details!
The Contour Tool with "Draw" Images
I already explained the importance of designating which pen colors/weights you are using within Cricut Design Space so that you are automatically prompted to change out pens for different aspects of your design. However, what do you do if your selected image is only one color but you want it drawn in different colors?
The best way to change colors of a single-color design is via the Contour Tool. With a single-color image selected, click on the "Contour" button along the bottom right-hand toolbar. A window will open that allows you to toggle various parts of the design on/off.
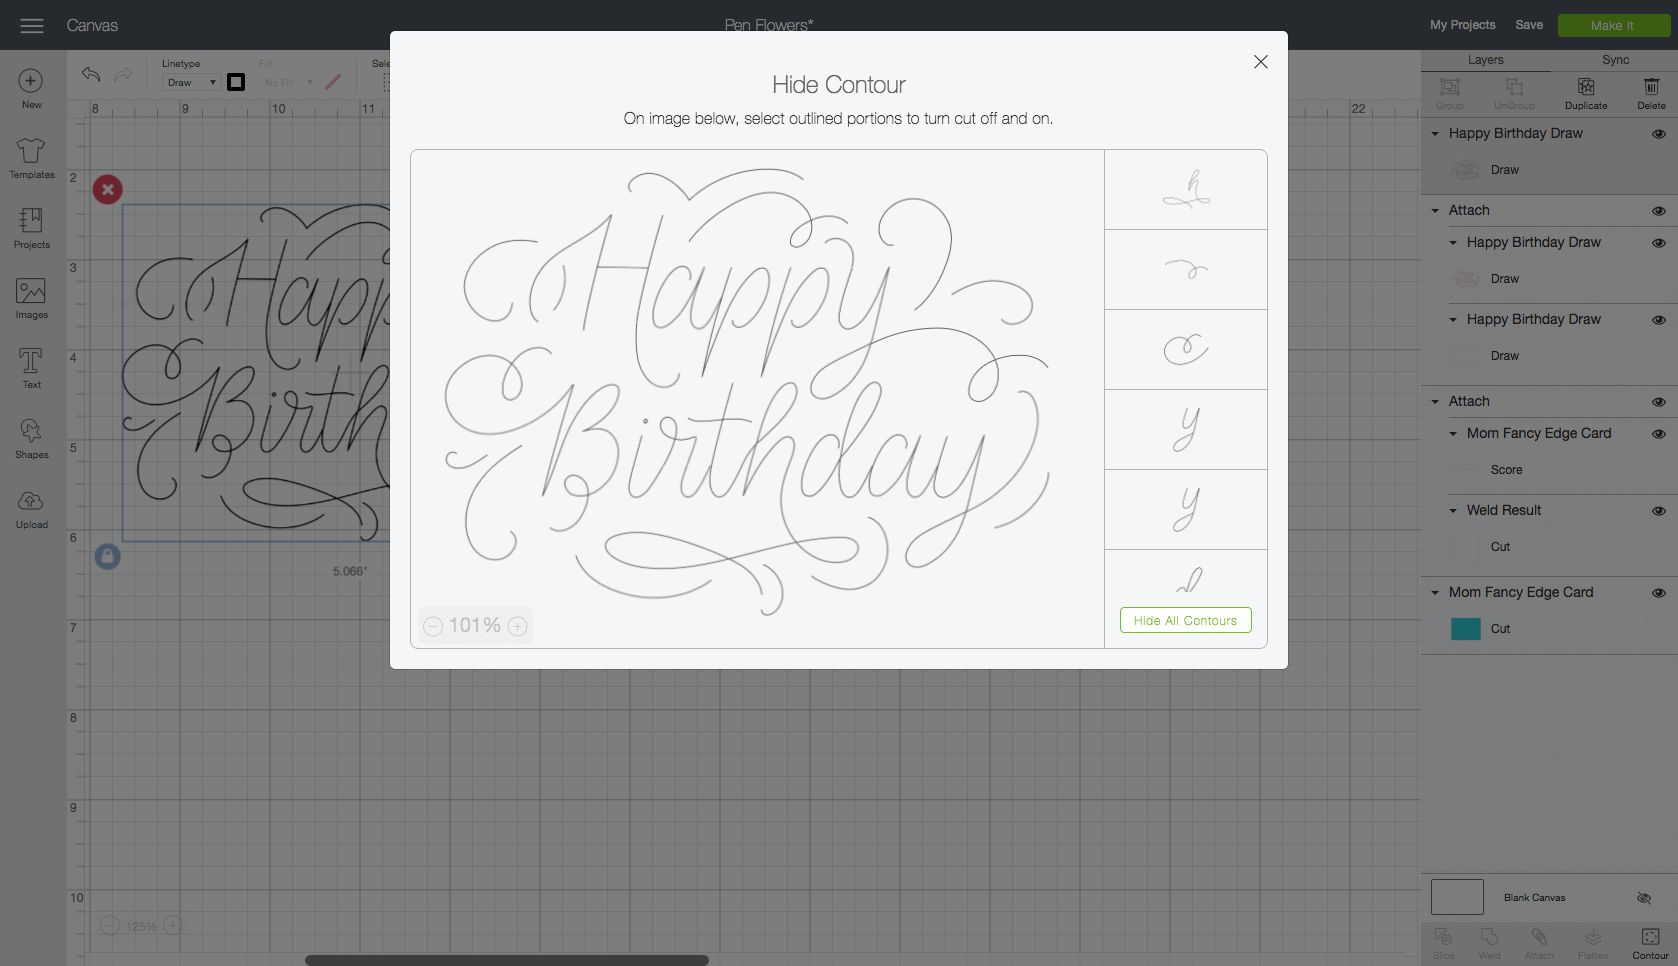
This process will need to be done in several iterations based on how many colors you are using. Here is the gist of it:
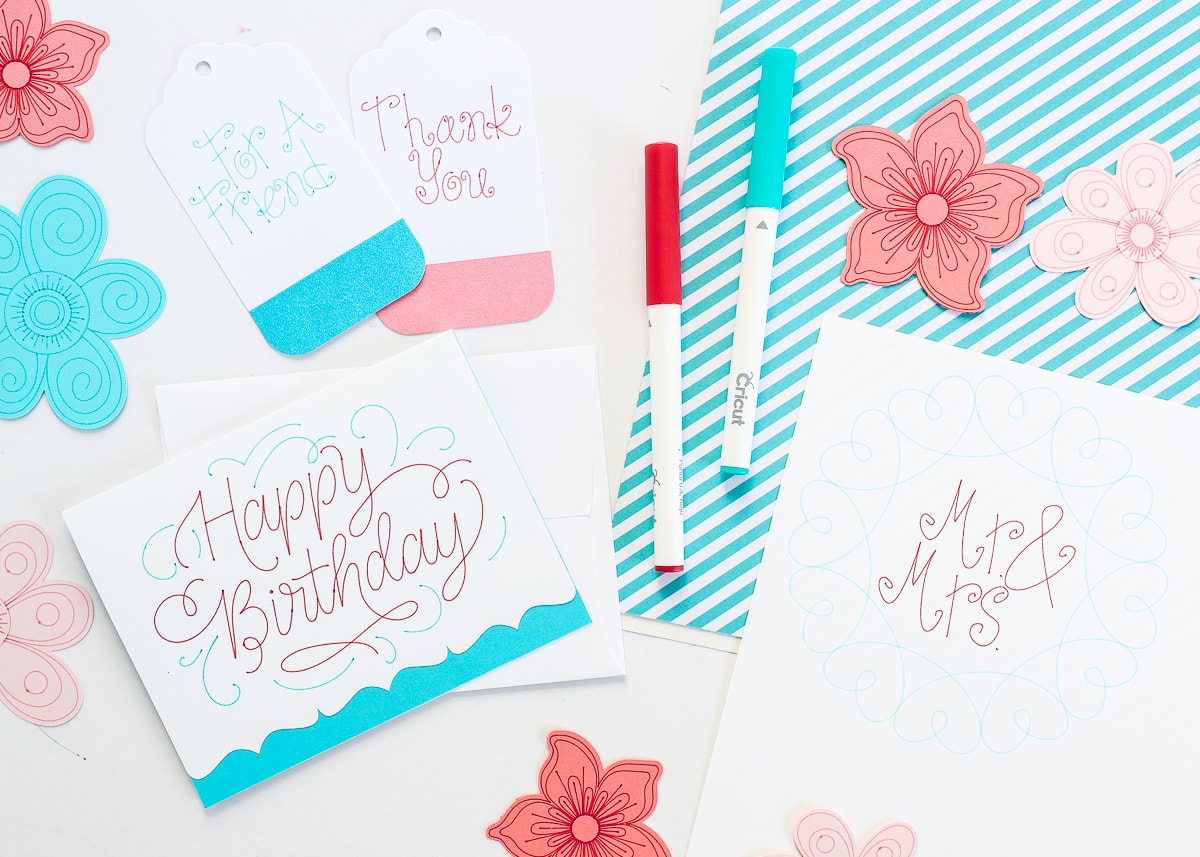
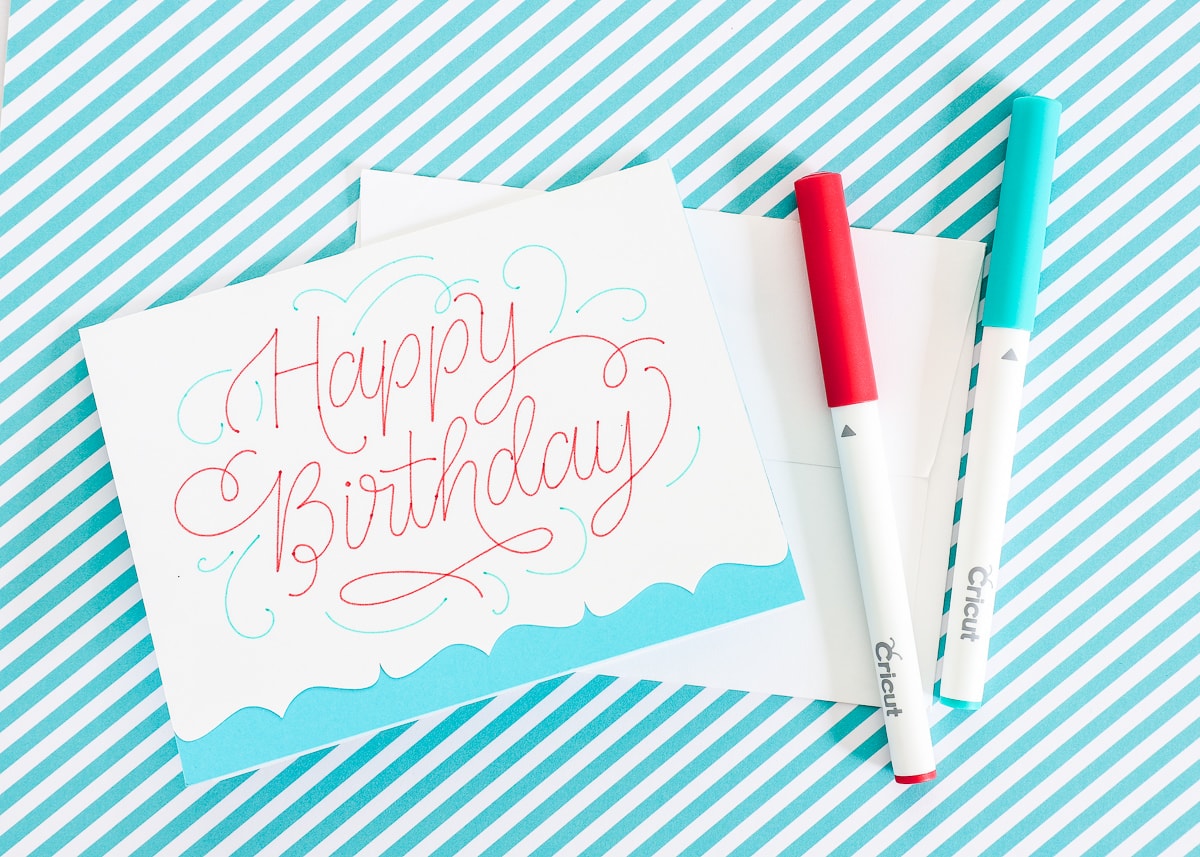
To make this Happy Birthday into two colors:
- Using the Contour Tool, first toggle off everything except the "Happy Birthday."
- After exiting out of the Contour Tool, turn it red.
- Next, duplicate the image and open the Contour Tool again.
- This time, turn everything off except the bordering swirls.
- After exiting out of the Contour Tool once more, turn those surrounding elements blue.
- Finally, center the two re-colored versions of the same design onto each other and "Attach" them to one another.
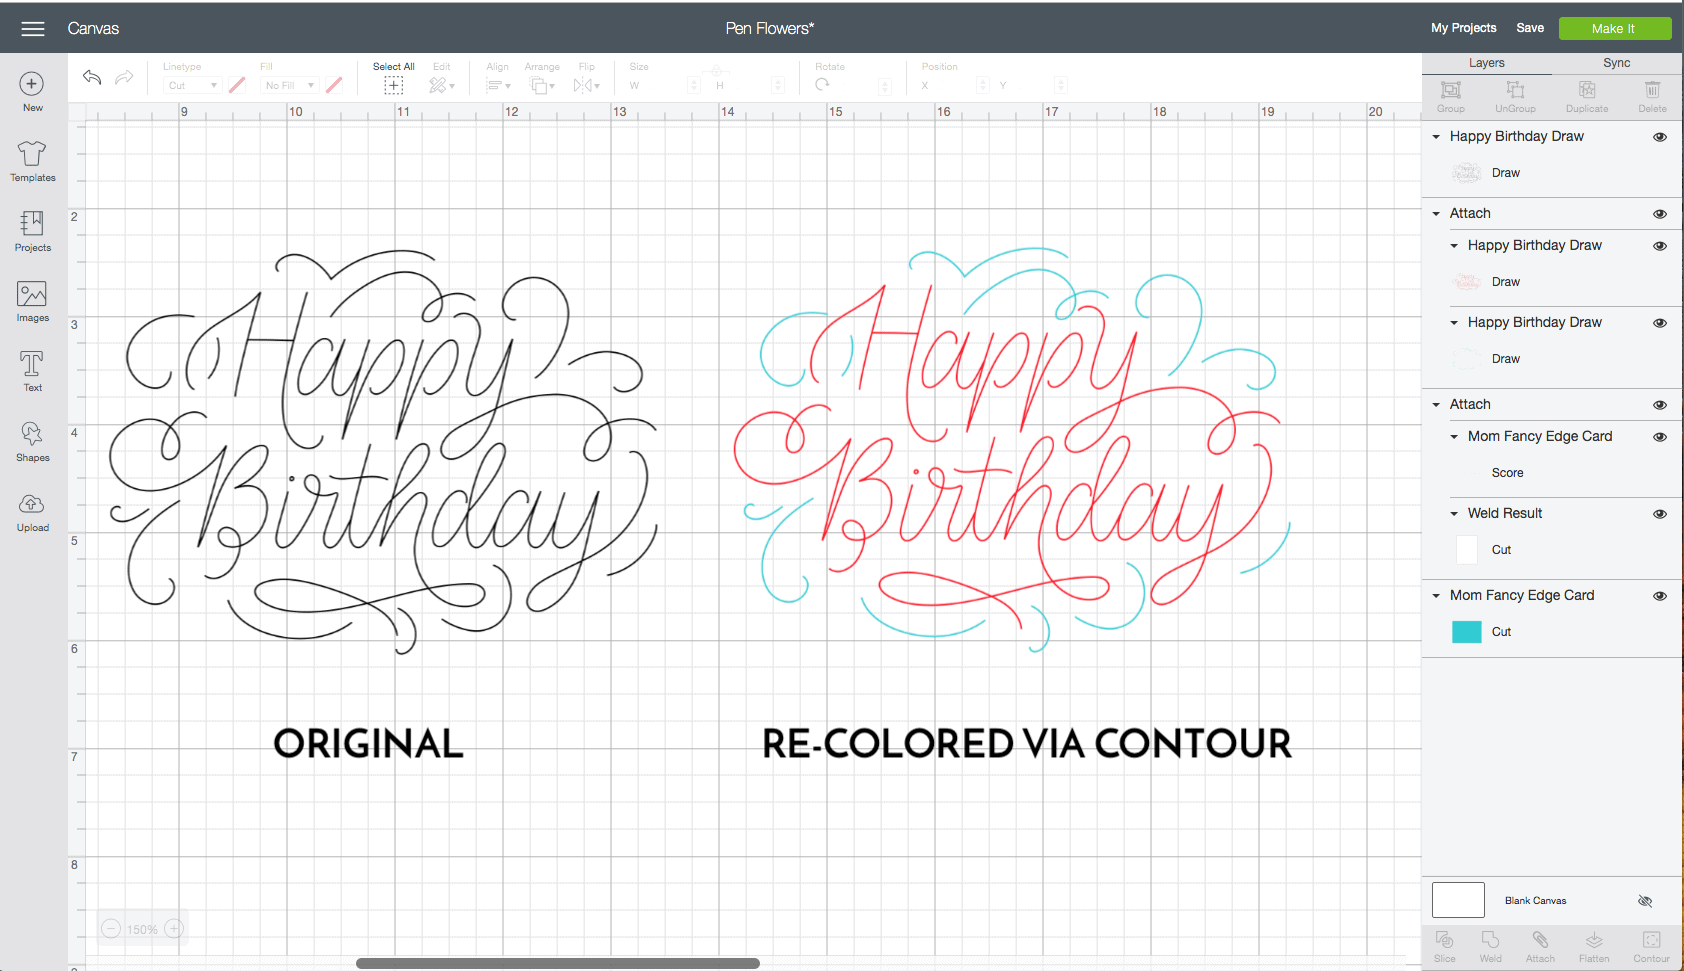
With the images re-colored and attached to one another, the Design Space software automatically prompted me to load the right pen at the right times to end up with the re-colored design as shown above!
I have been working with the Pens a lot lately to create all sorts of labels for our home. They have quickly become my preferred method over vinyl and the Print-then-Cut options. Now that we've got these Pen basics covered, I'll dive into a few more Pen tutorials in the coming months. I can't wait to show you more ideas for using them!
More About Working with Cricut Pens
Ready to use your Cricut Pens in unique and creative ways? Learn how to write directly onto pre-cut items by clicking below!

I realize this is a doozy of a post, but I wanted it to be as comprehensive and useful as possible so you'll feel motivated to give those nifty pens a try! Once you do your first few projects and get the hang for them, you won't be able to stop 😉 If you have any questions about what I've covered here, don't hesitate to drop a comment and I'll get you an answer right away! Happy drawing!
See You Soon!
Megan
how to use pen on cricut
Source: https://thehomesihavemade.com/how-to-use-cricut-pens-a-comprehensive-guide/
Posted by: malcolmcoging.blogspot.com
0 Response to "how to use pen on cricut"
Post a Comment